Crafts / Metalwork / DIY Metal sheet brake - finger type
Metal sheet folders or brakes proposed for a common user are usually worthless. Namely Internet is full of advises how one can make useless variants of metal sheet straight brake i.e. sheet brakes used in building construction or heating and ventilation systems. However in small workshops one needs a sheet folder capable of making boxes and similar tin objects. Just the right folder I have here for you: it can not only band metal sheet, but also can allow for making tin objects. I made it for myself and it proved to be very useful.
|
|
|
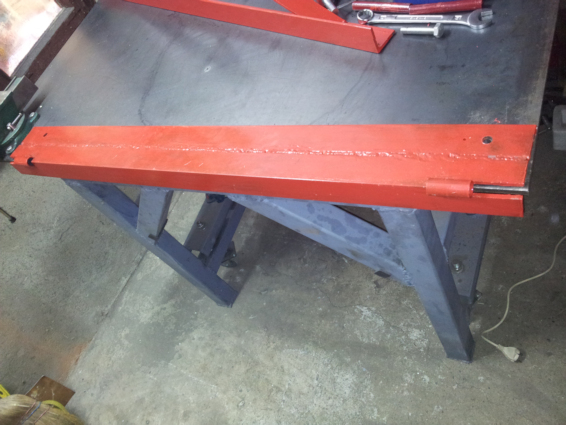
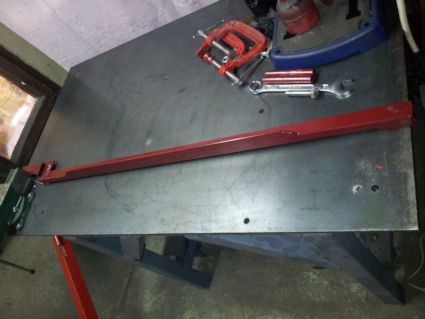
Bottom part has on hole on each end through which the screws will go and fasten it to the workbench. |
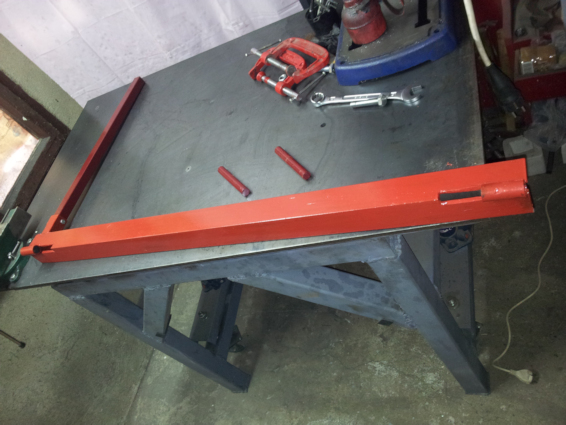
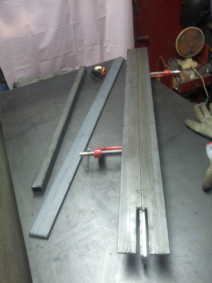
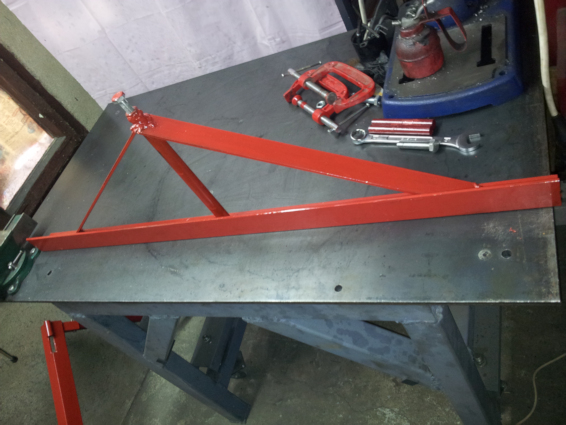
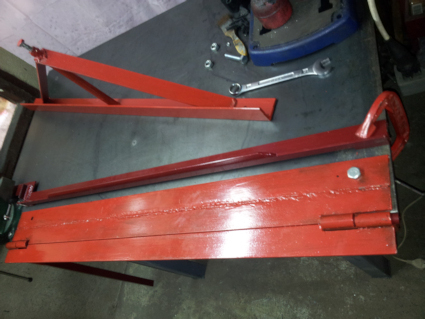
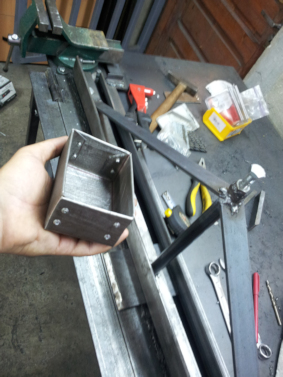
Here is the other of those angle iron from the starting picture. I shall name it Folder part (with a handle). So you see the Folder part carrying a pair of tubes, then having a handle sleeve and the handle itself. Behind Folder part on the workbench two shafts are ready for insertion into tubes. |
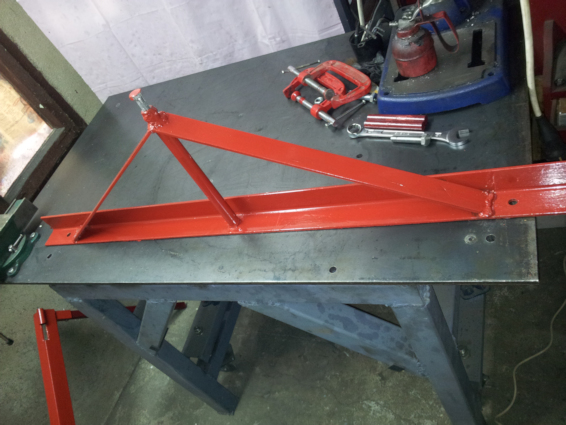
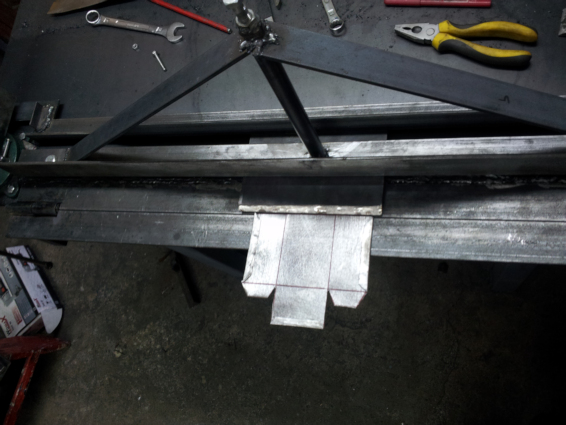
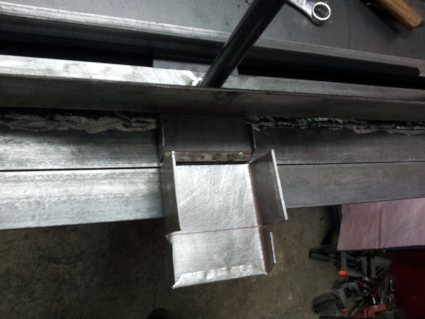
Let us see now the part that I name a Triangle part, for completely unknown reason :-) On the left side is the front side of Triangle part, and in the right picture there is the rear side. The vertical tube has the screw nut welded to it's top. A metal rod goes through tube; it is somewhat shorter then the tube itself. The tube with the nut and the rod is welded on the upper side with two slanted flat bars. Take care not to weld the tube on the lower side, just upper one. The Triangle part comprise the angle iron with one hole on each end; the holes will have screws by which the Triangle part is fixed together with the Bottom part to the workbench, pressing the steel sheet on both ends.
When the end screws are tight, by making use of a screw on the top of Triangle part we shall provide pressure on the middle part of sheet and in that way it will be perfectly controlled during folding process.
 |
 |
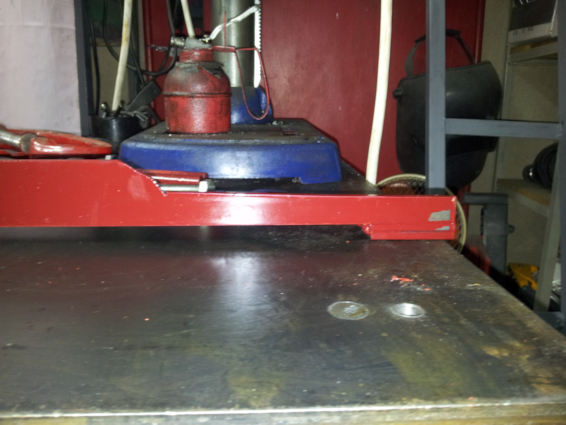
Now we are going to discuss the Rear support part. I constructed the Rear support part as angle iron somewhat above the workbench so that steel sheet for bending can freely go below. This Support will be fixed to the workbench by means of clamps on both sides. We shall lay down the metal fingers on the steel sheet and align all metal fingers on the front side of Support . In that way Support will remember the position of those metal fingers so next time when we introduce another steel sheet the fingers will be aligned in the old position in no time. Additionally Rear support helps in fixing the metal fingers during banding process, so the thicker metal sheets can be folded with no problem.
The leverage of Rear support over workbench is done with a pair of flat bars on both ends of Support, as can be seen in the picture on the right.
 |
 |
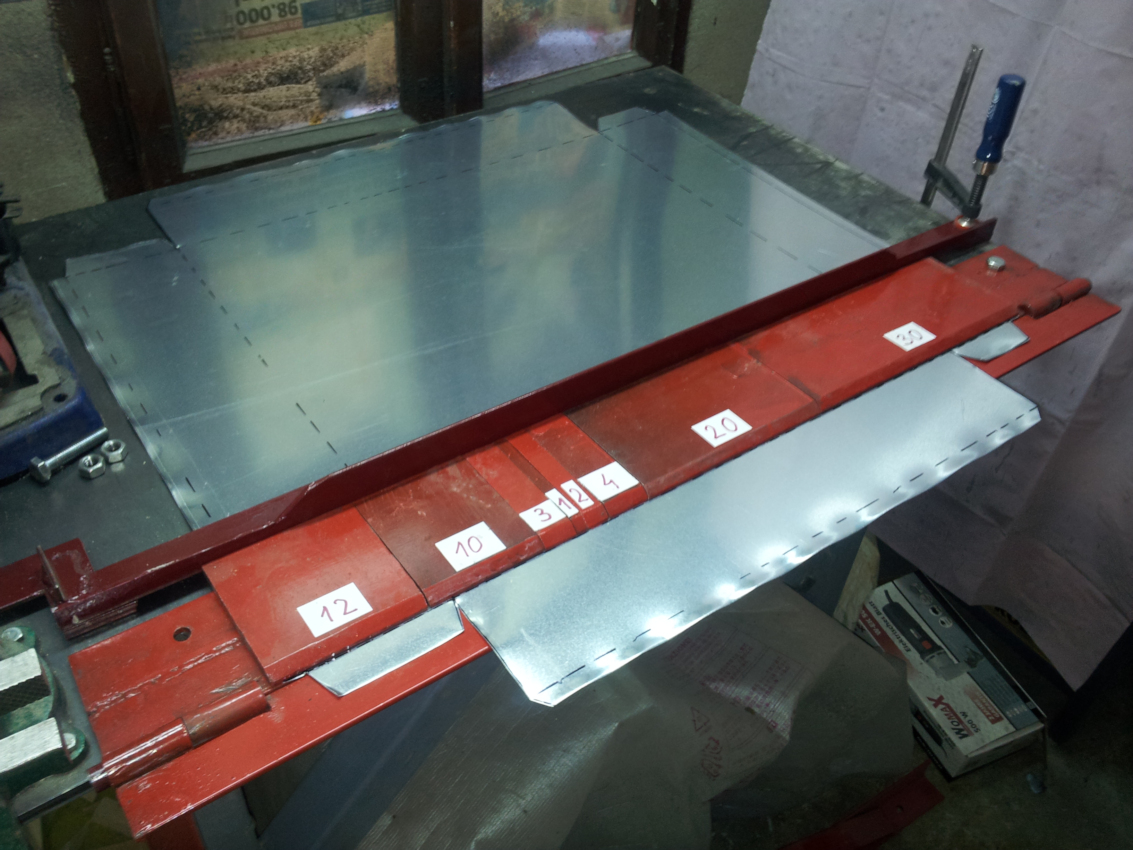
Here we have metal fingers. They press steel sheet directly. Those are metal plates, 10mm thick which I slanted on one side. I made those in various widths so by combining them I can realise any width of bending from 1cm up to 82 cm with 1cm resolution! This is something that even professnal pan brakes do not have. |
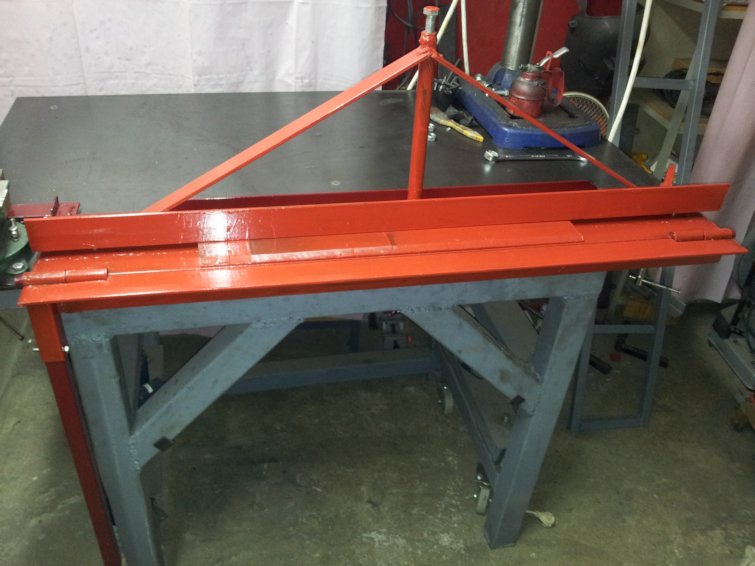
Now you see all above mentioned parts but fingers. The Bottom part is in it's place, the Folder part is mounted with shafts and can be rotated by means of handle. At the back is the Rear support fixed with two clamps. In normal operation we should now insert sheet under the Support and over the Bottom part. Then we should lay down metal fingers on the sheet and aligning them against Bottom part. Over metal fingers we should then lay down the Triangle part. Finally we screw down both end screws and the central screw on the top of Triangle. After that we turn the handle and the sheet is banded. |
Here is how this looks in practice. I am banding my first tin box. Do you think the first box cannot be a success. Think better then:
 |
 |
 |
Conclusion
Here is my sheet brake in full engagement, undisputed beauty with no fault, speaks all the world languages: 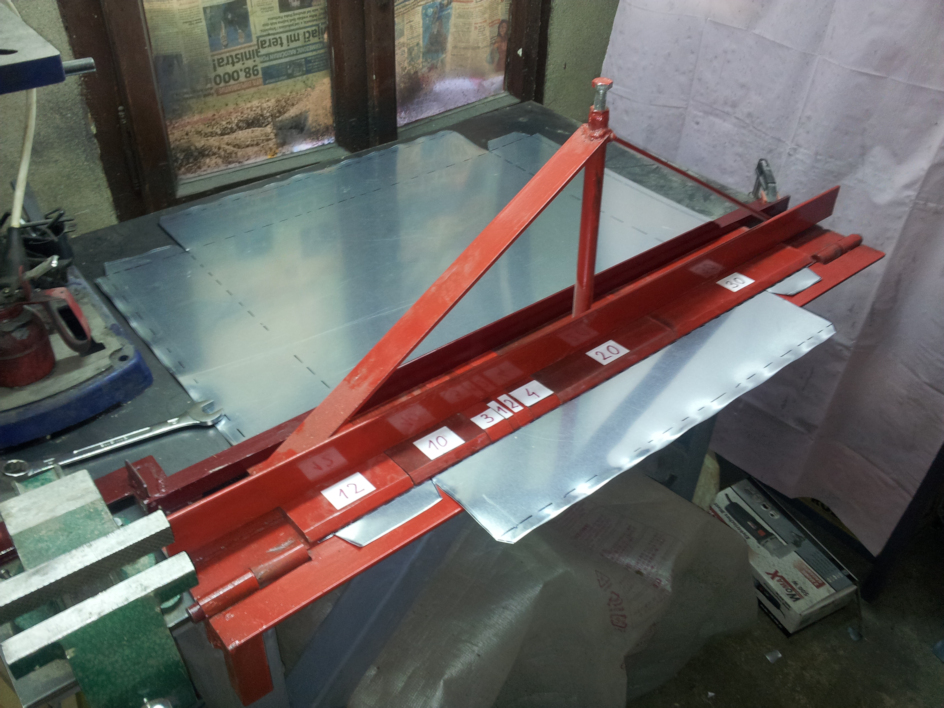
14.2.2016