Improving tone quality of a violin
Improving the sound of а violin
If you play violin you were probably confronted with the fact that there are almost no good violin luthiers. Even if you are lucky enough to find a good luthier in the vicinity, it is quite uncertain if such a luthier would find time and inclination to fully investigate the qualities of your violin and provide the best tone.
Luthiers do not know your musical repertoire, the style of your playing, or what kind of timbre you like to hear most. All a luthier can do in the available time is adopt the instrument approximately in the general direction, as you managed to explain to him in conversation.
If you feel skilled with your hands, not only on the violin but in a broader sense, and ready to face a challenge, this article is an example you could follow. As with all other articles and activities described on this site, I have personally experienced the path of improving the sound of my instrument, and I wish to share with you the modest experience I gained from this adventure. Right now I am telling you the I was rewarded with results over the expectations on my instruments which I play for about 50 years, and make a "princess" of it. What kind of pleasure you have when hearing the best possible sound your instrument can give you, that I do not need to explain.
If you are not willing to engage in this tone improvement by yourself, it is very desirable to browse this little crash course in adjusting in order to be able to properly describe to a luthier what exactly you want him to do with the instrument.
In this article, one can find just my private opinion. I am neither a professional violinist nor a luthier.
Starting conditions for violin sound correction
Firstly, maybe your violin has the best possible sound for its particular construction. In that case, nothing! At least take care to return everything as it has been, and that is all. This is a rare case, though, because a violin is almost never adjusted to your wishes.
If you have very expensive instrument, then probably you shall search a luthier by all means, because the risk might be too expensive if failing in this endavour. What could I say? No one is guilty of your being rich or a high professional. Then you have to pay :-))
You ought to know that every instrument has its own characteristic sound on each of its four strings. There is a possibility that the sound you like is not feasible to adjust because it does not exist on that particular violin. However fantastical possibility exists that by changing the sound you can conclude about the overall sound potential of your instrument, which would be impossible if a luthier does the adjusting for you. It is incredible how much this comprehension would effect your performance in playing.
If there are cracks in the violin, you still have to take it to a luthier for repair. This means that sometimes he might need to unglue violin parts, and that is too serious work for you to practice.
As you are well aware, the strings are stretched between pegs in the peg box, cross over a bridge, and finish in the tailpiece, which is closest to you. If the fingerboard (black curved board where you press strings on) is damaged (scratches), or the top nut is damaged (strings are sung), then you should also take the violin to a luthier. The nut should be repaired by you, but I did not need to do that (just glue it back because it peeled off).
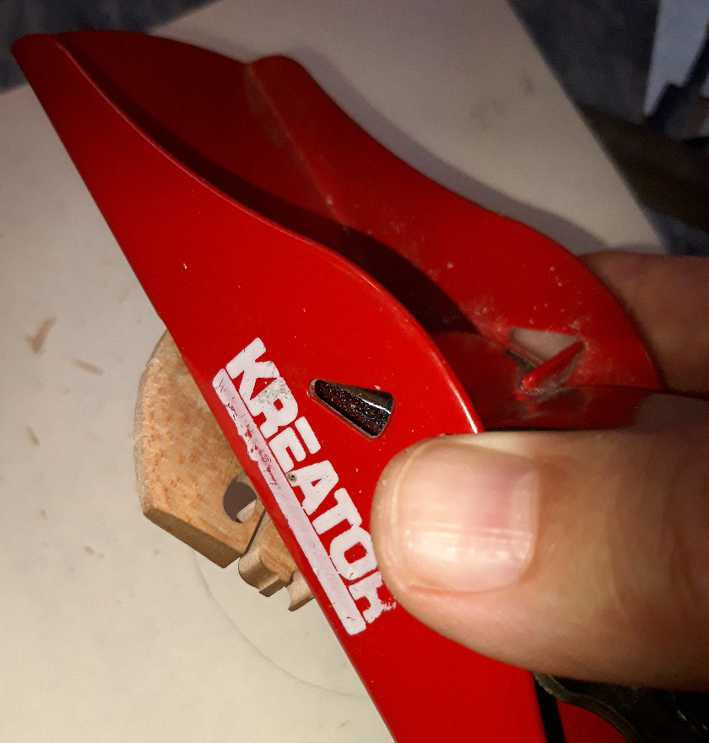
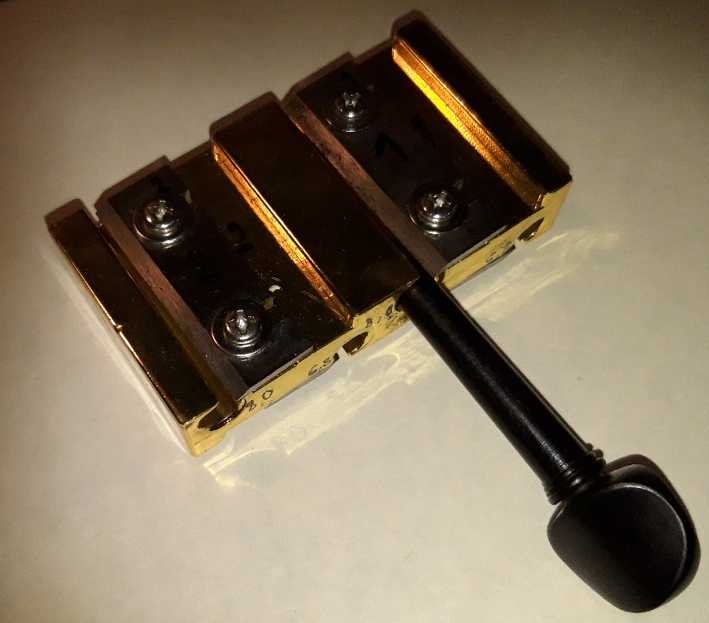
Moreover, for this work, you need the following tools:
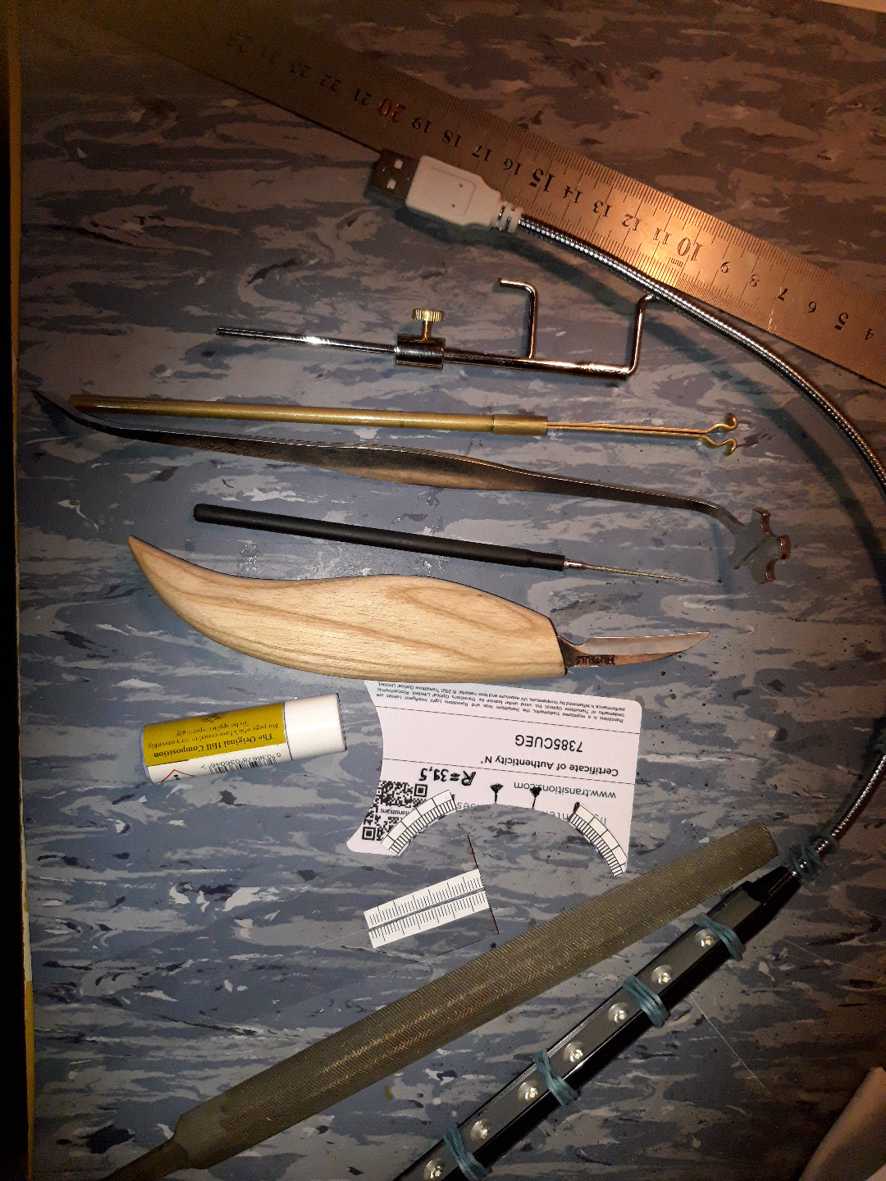 |
From top to down: steel ruler; led lamp for illumination when mounting sound post; sound post gauge used for measuring sound post height when making a new one; sound post retriever; sound post setter; special needle file 0.3mm for cutting string slots on bridge; fine carving knife, very sharp; peg compound (peg dope) alliviates smooth pegs turning template for bridge upper arc: you ought to make one from a credit card or cardboard; sound post gauge for distance measuring: also made from say elastic plastic taken from various packiges; fine file for steel, here used for wood. |
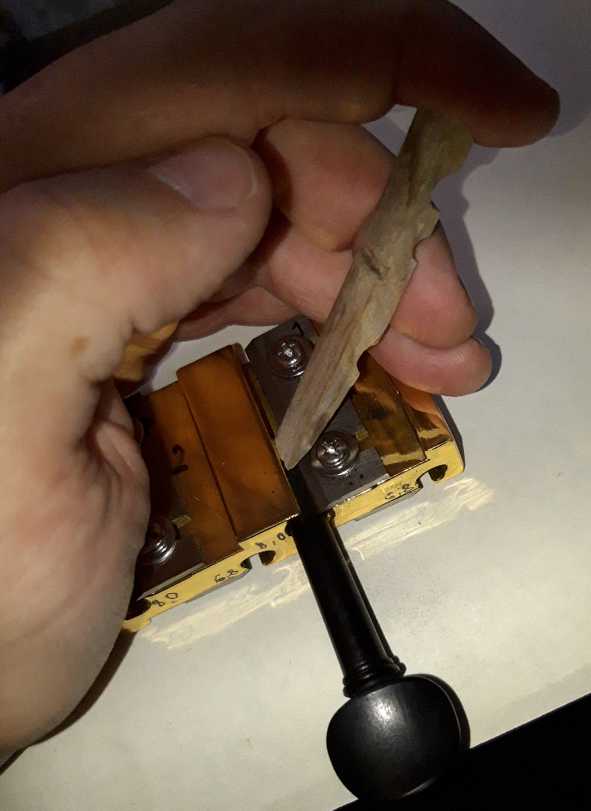
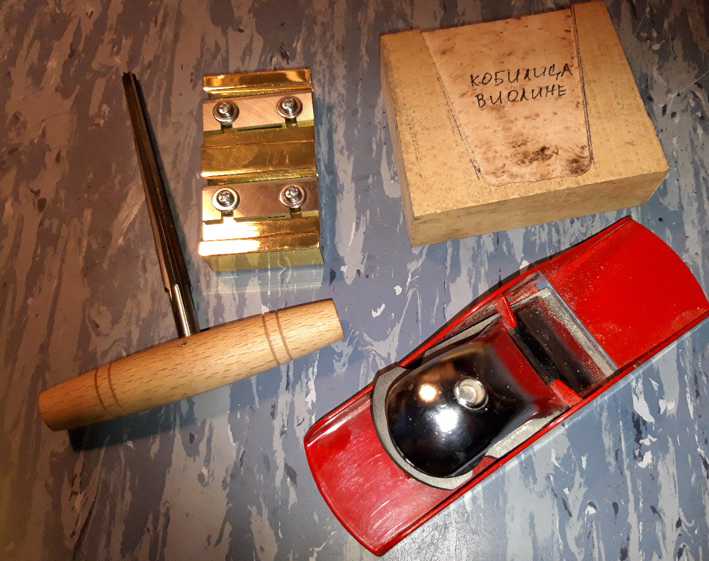 |
violin peg shaver; bridge holder: you are supposed to make one yourself; you shall use it for easear plainig држач за кобилицу: сами га правите са удубљењем за кобилицу; обогућава лакше рендање кобилице; peg hole reamer: used to broaden holes on peg box; small hand planer for bridge modeling. |
What is included in our violin adjustment?
Adjustment comprises the following:
- bridge modelling
- sound post setup
- pegs modelling
- tailpiece replacement if necessary.
Starting
Prepare the violin:
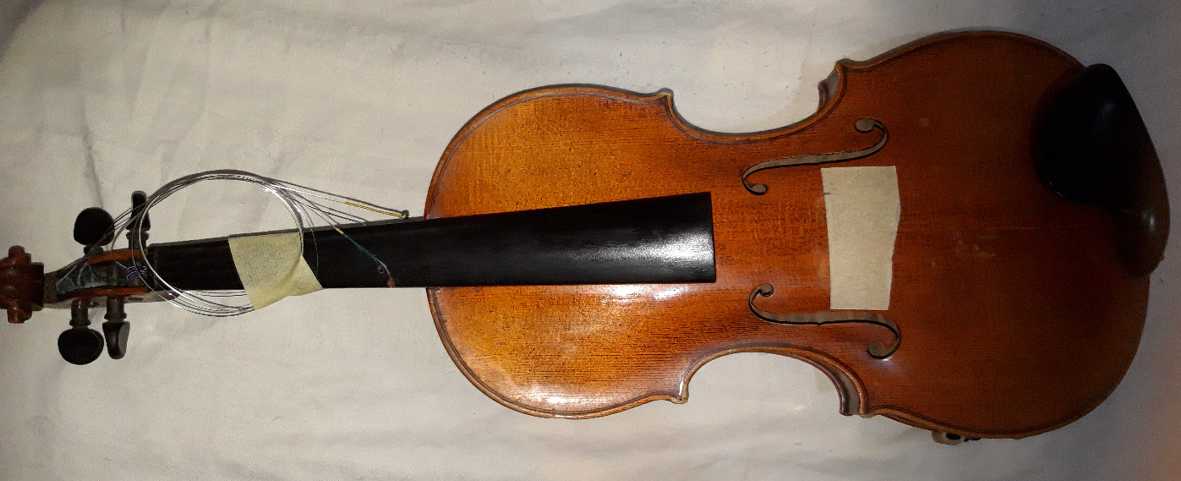
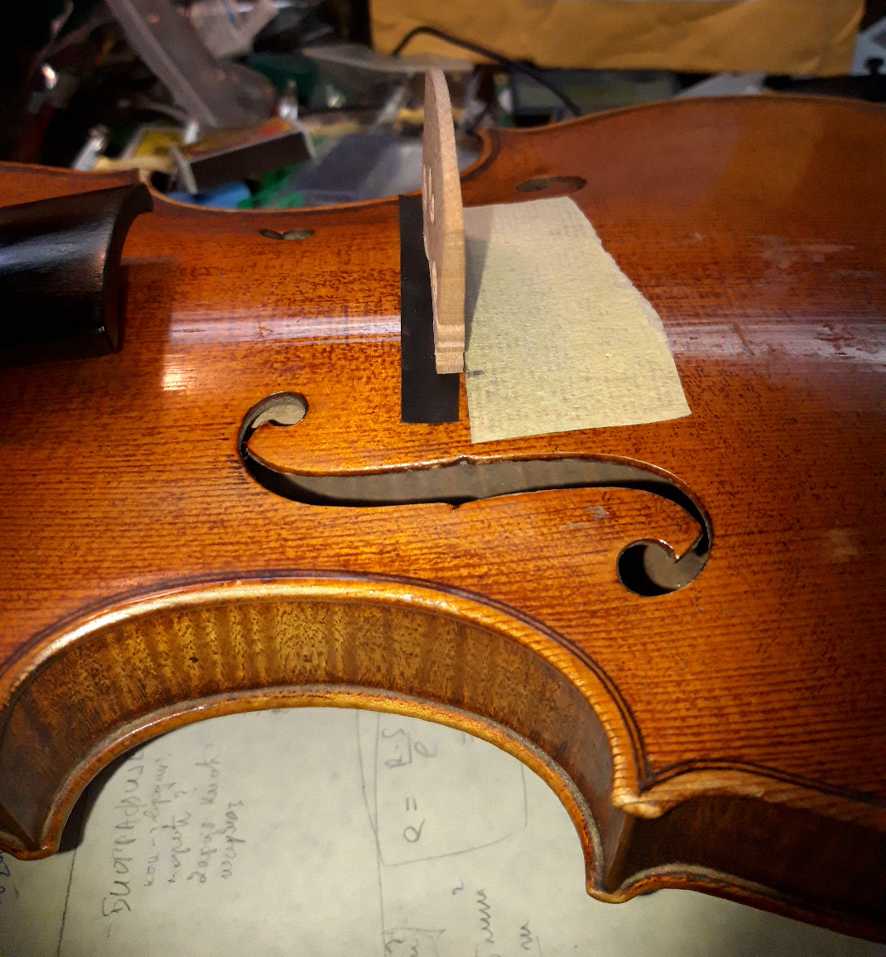
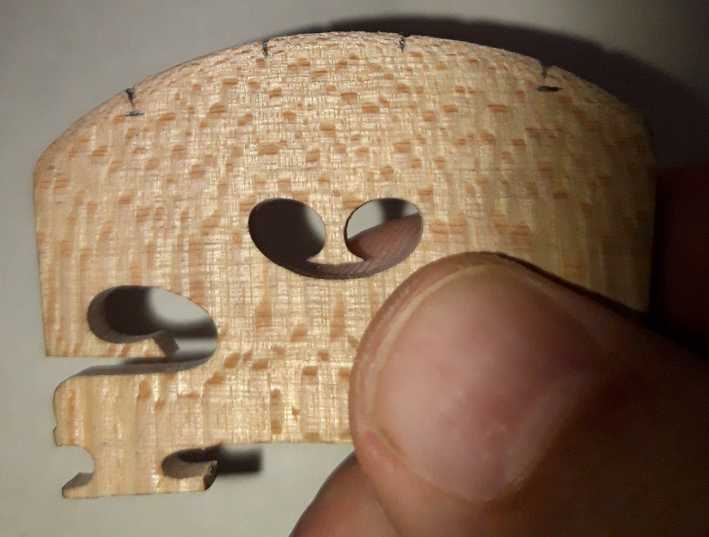
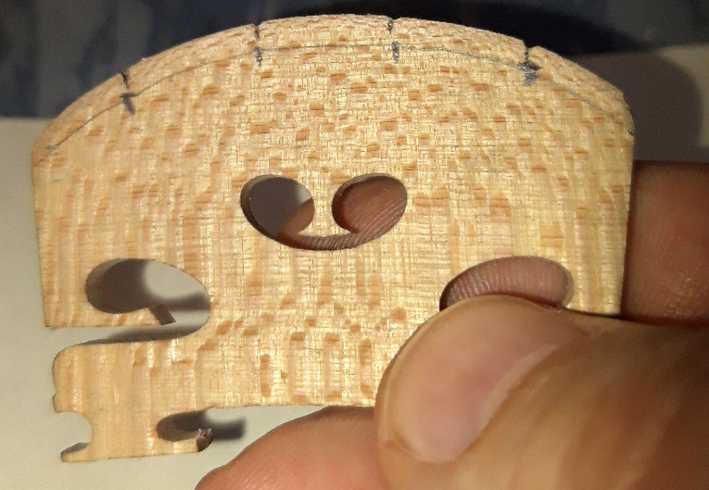
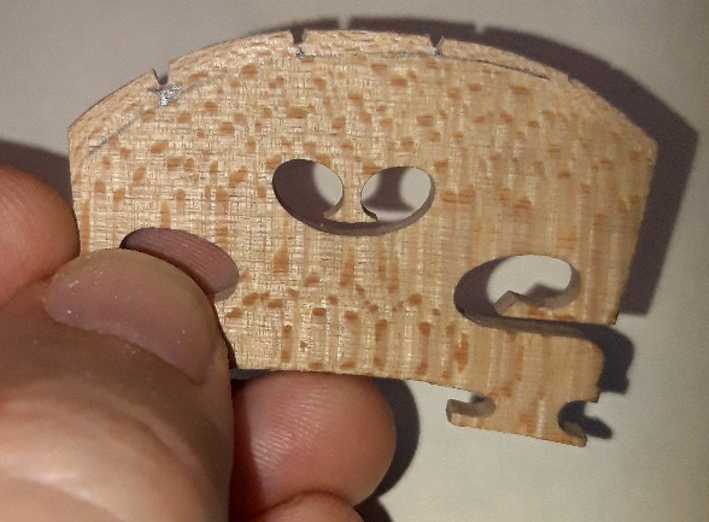
Painter masking tape is applied to mark the lower line of bridge position, and the pencil mark on the tape is the beginning of bridge, i.e. the position of the bridge toe (bridge has two feet below, the inner side is heel, the outer is toe).
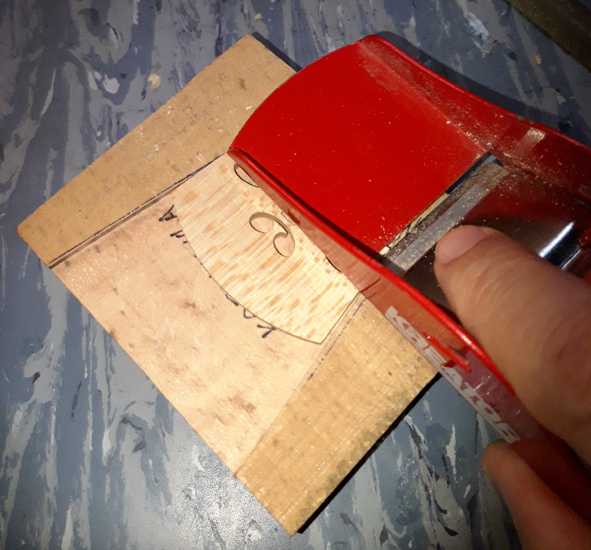
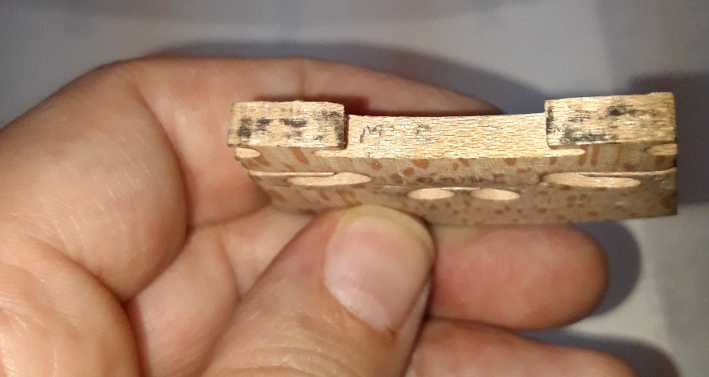
Bridge modelling
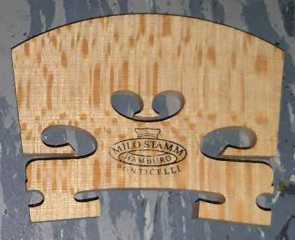 |
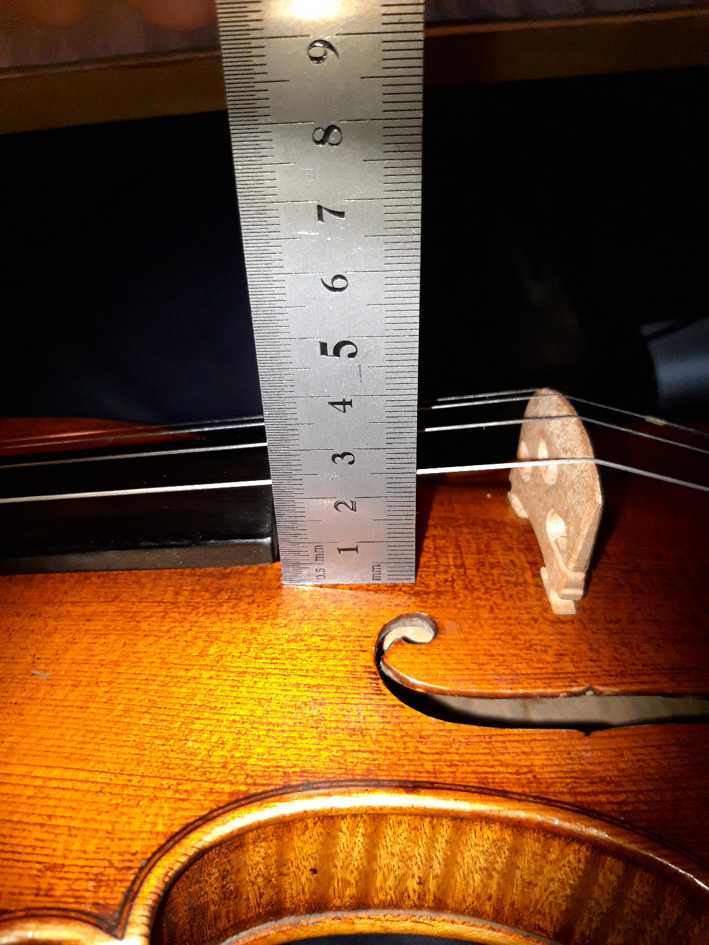
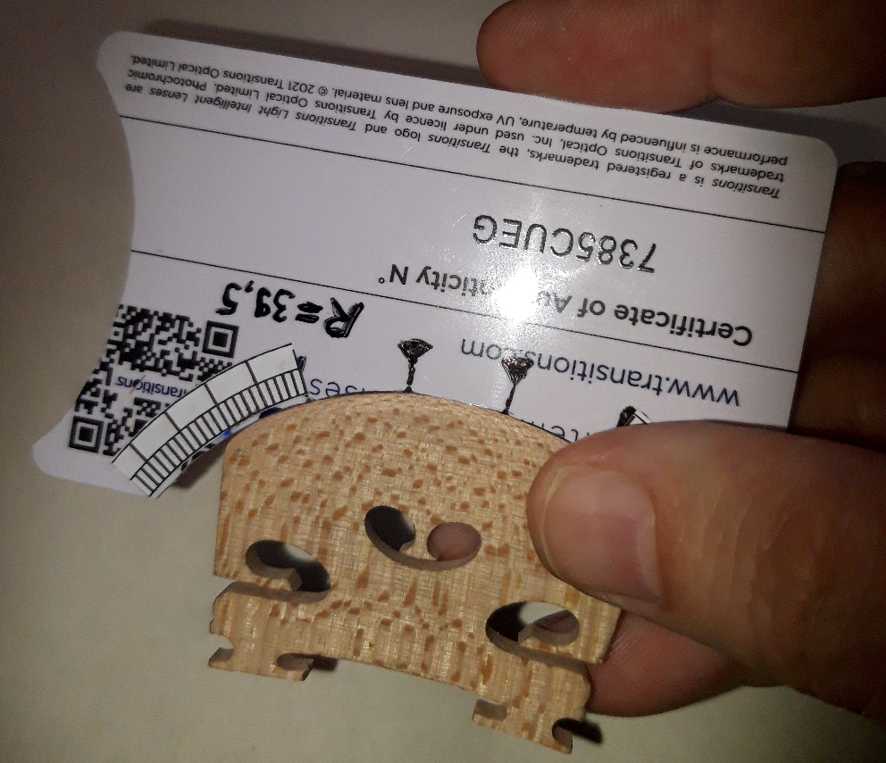
Bridge is the mechanical sound filter. If bridge is bent you has to change it. It is best to always model the new bridge which you buy in a shop. The best bridge model is Milo Stam (pick Royal class), next one is somewhat lower quality like Aubert. The next you will never read on Internet: Measure the height of the upper fingerboard surface to the upper violin board. The height of fingerboard is 18 - 20mm. If the fingerboard height is close to 18mm you can think of searching for the specific type of bridge with lower heart (coer bas). That was my case for fingerboard of 18,5мм. |
Where are you going to find all other details which are not present in this article
The detailed procedure for modelling a bridge can be found on the site of luthier Davide Sora from Kremona.
Step number 1: bridge modelling done by means of luthier Davide Sora internet instructions
Plane the bridge sides so when bridge is positioned on violin and looked from the upper nut of violine projection of fingerboard goes over the bridge sides, or at least absolutely simetrically to the bridge sides. The back side of bridge is the one turned to the performer. Here you will find many parts of Mr Sora procedure, with my arrangement.
|
Preparatioin for plaining of heels. |
Planing of the back lower part of bridge. |
|
|
|
|
|
| Test of inclination of the back side: similar to house gable roof which is almost flat. | ||
|
|
 |
|
| Sending of planed surface to smooth the scratches. | Now planing the front lower side. | |
|
|
|
|
|
Black here is the part of carbon paper. The start of the most important bridge modelling: adjusting the feet sole to the violin upper board. Here we use the very sharp knife with utmost precision. |
Front side after soles adjustment. |
|
|
|
|
|
|
Bridge test: stays by itself at perfect 90″ between the bridge back side and the upper board. |
Bridge test: looking from the front and from the back side, the feet must perfectly lay on the surface of upper board.
|
|
|
|
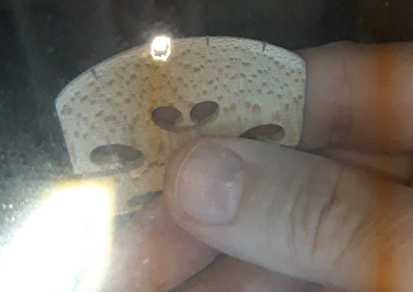
The final look of well formed bridge sole: carbon imprint on the whole sole surface.
|
|
|
|
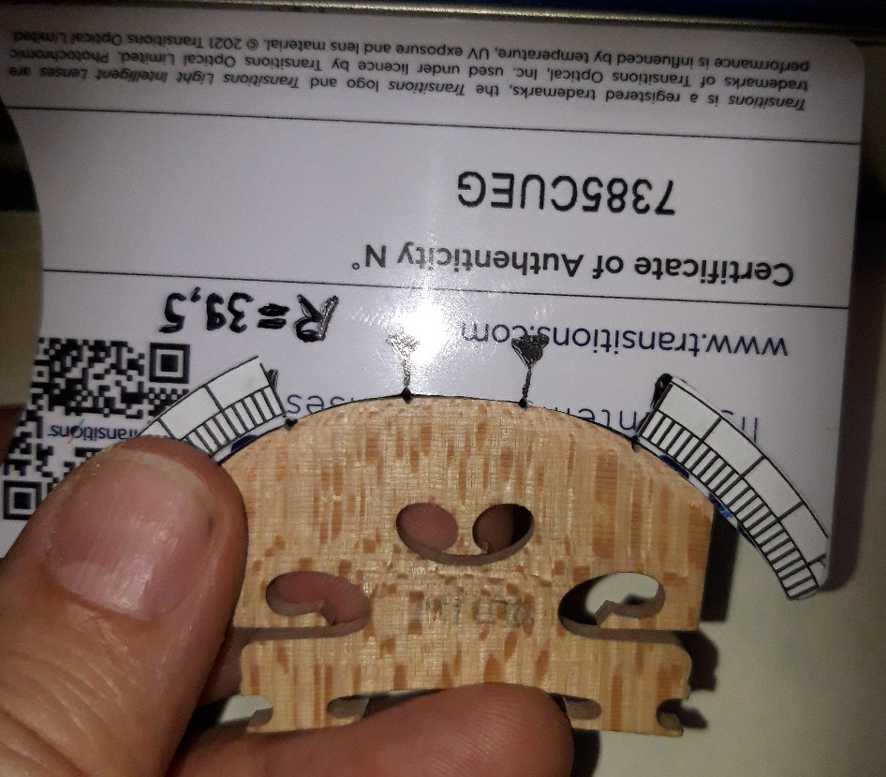
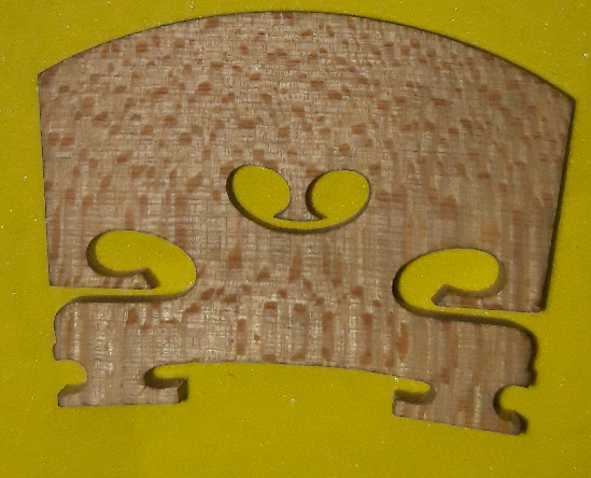
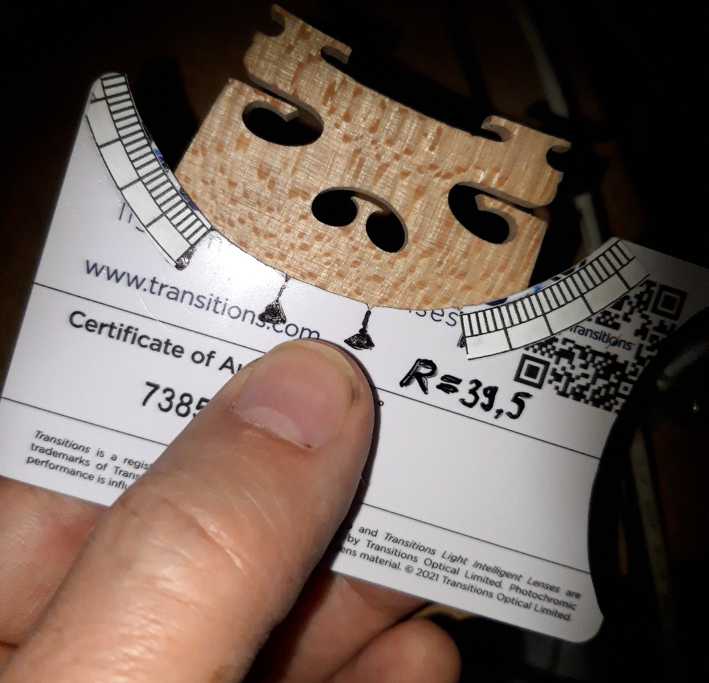
Here curious one can fine the beneficial information by browsing this procedure. Every violin player should know what is his preferred bridge arc radius. This radius is normally 35.5 - 43mm. If you obtain too much of string interference during play, that could be the sign of too large arc radius. I am myself using arc radius of 39.5mm. Strings A - G are positioned 43mm apart, symmetrically on bridge. |
|
|
|
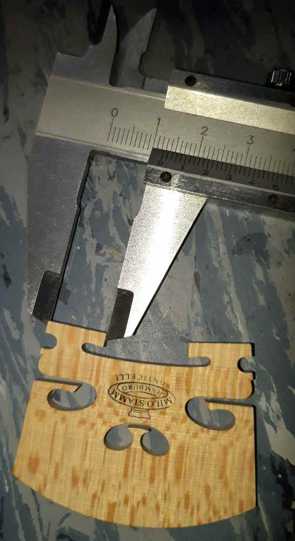
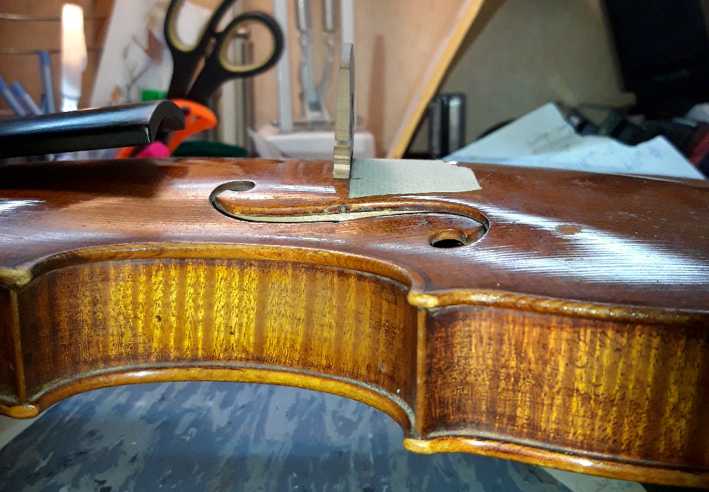
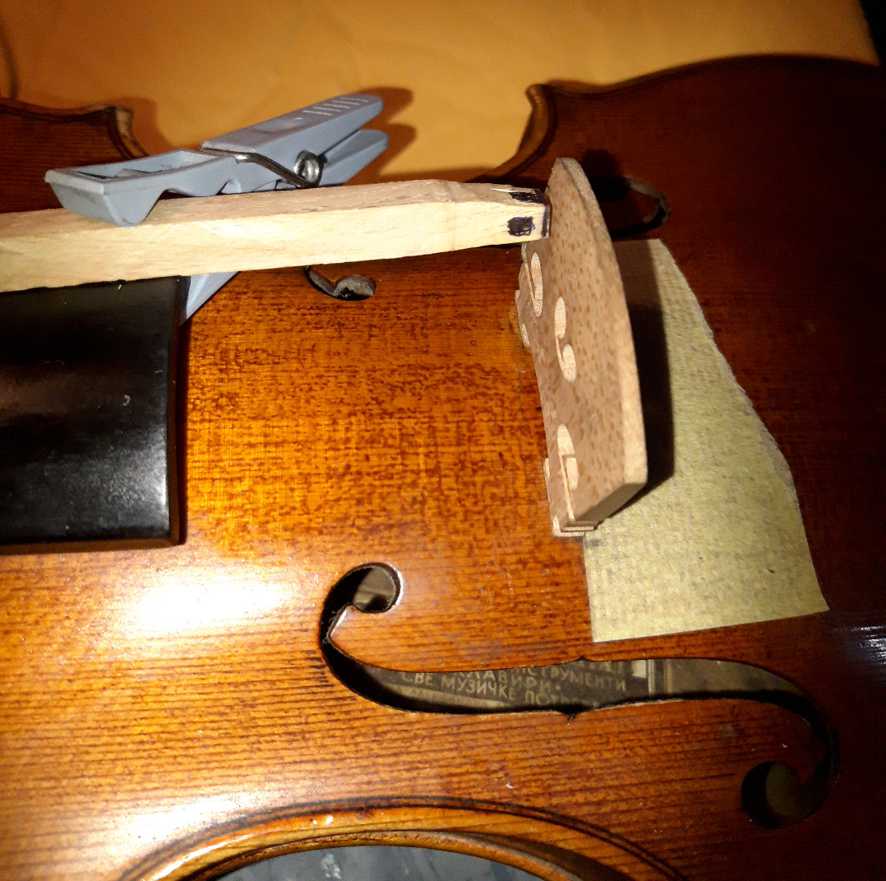
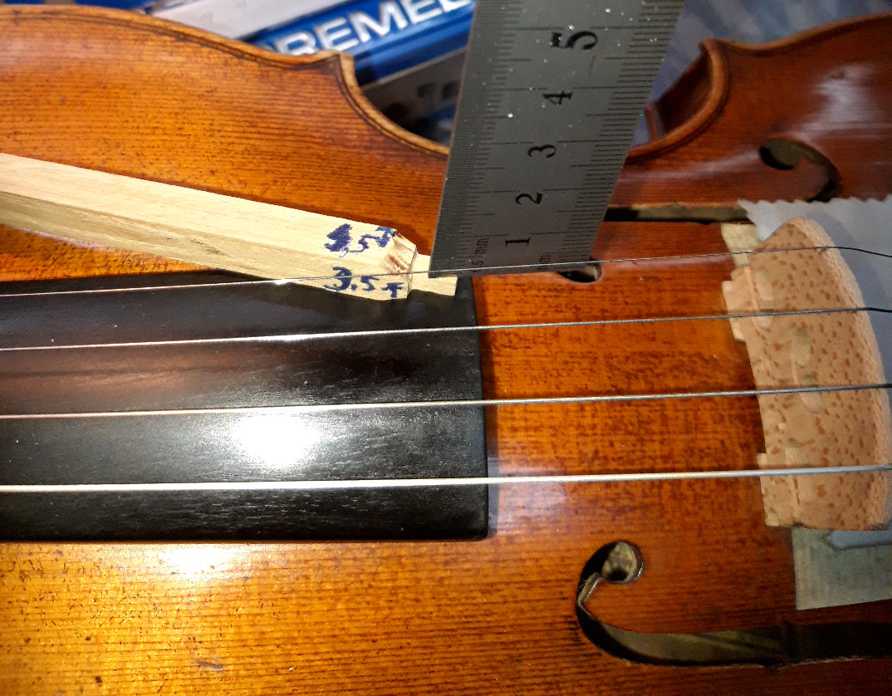
On the picture you see the measuring stick missing in the tools picture. Projecting from the fingerboard at the specific height on the bridge, this stick is used to mark the end points of the upper bridge arc. By means of an arc template, you will draw the upper arc and use a file to shape that arc. In that way, you obtain the following shape:
|
|
|
|
|
|
|
By means of arc template we determine the string groves. |
As needed we use the magnifier. Yes, I missed it too in the tools picture. |
|
|
|
|
|
|
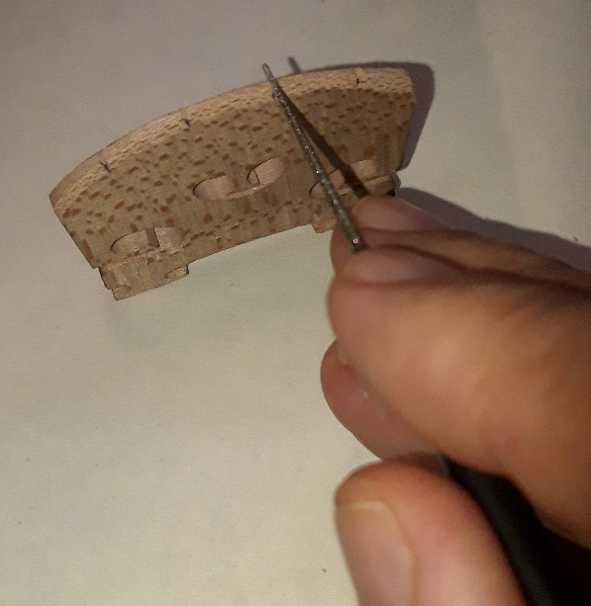
Groves for G, D and A string we cut with needle file. By means of special file or a knife we cut the grove for string E. |
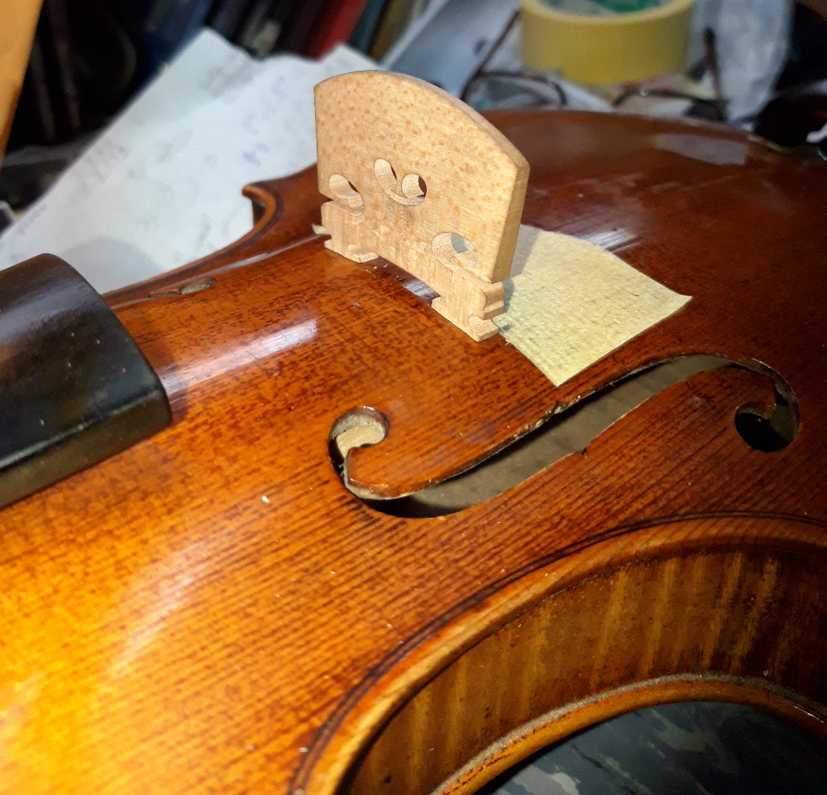
The bridge is in place, strings are mounted, and the height of strings over fingerboard is measured. | |
|
|
|
|
|
You might be genius, but it is impossible to immediately get the position of upper arc. So here I do the second iteration. Pay attention on two marks below E and G strings. They are the points of new arc iteration. |
Here is the new arc that is going to be shaped with file. | |
|
|
 |
|
| Another arc iteration. |
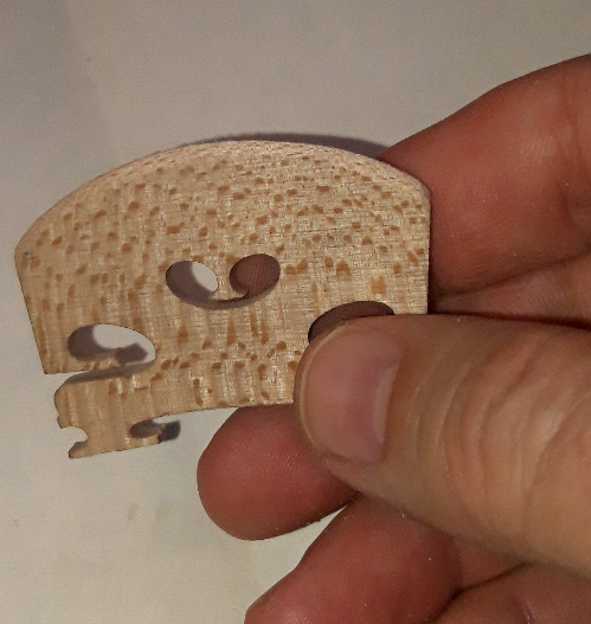
Now this is the reason why in my case three iterations were needed for upper arc: look how precisely is the position of string groves is alined with template, and in every iteration the strings are perfectly symmetrical on bridge. Your playing with this bridge would depend on the quality of this procedure. |
|
|
|
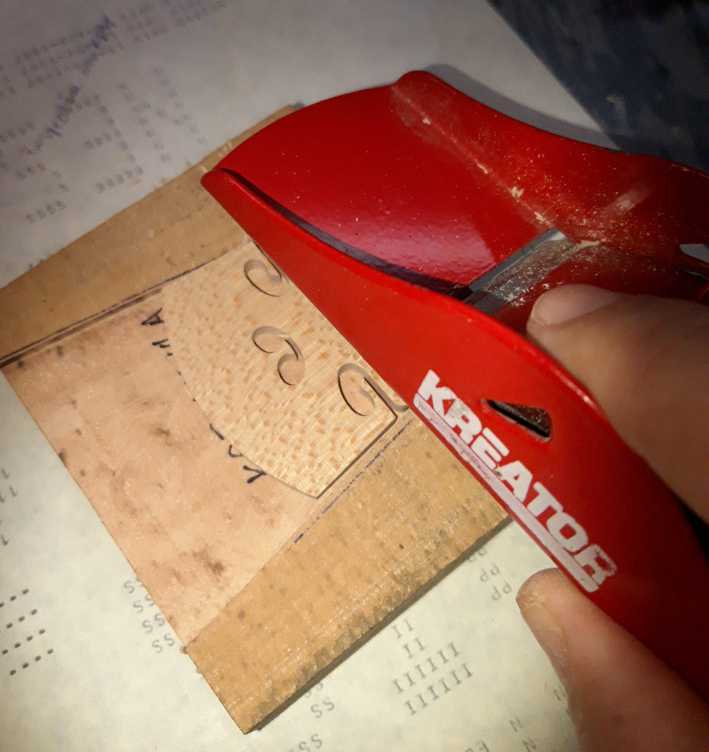
Planing of front upper part. |
|
Sound quality assessment
Artistic sound quality judging is one thing, but estimating sound from constructional side is utterly different. If you did not do any sound post manipulation, it is almost certain that you are not able to judge the constructional sound quality. This kind of quality assessment requires certain experience and subjective grade estimation. Because it is the personal scaling, the best I could do for you is to offer the example of my own estimation so you can build your own.
Murky tone is mumble-like. If exists on all strings then major error is done in setup of instrument. Murky tone is absolutely unacceptable on all and even on school instruments.
Gray tone is mostly associated with A and D strings. This tone can be described as unconvincing, somewhat damped. Probably gray tone lacks higher frequencies on these strings.
High-pitch tones mean we have E and A strings dominating. A high-pitched instrument has unequal registers, favoring the E and A registers.
Ringing is typically associated with the E and A strings, but it can be on all strings. This was the case with my instrument before my intervention. This ringing could cause hearing problems for a player after some time.
Deep tone is an unnaturally deep tone, primarily on lower strings, but in bad cases of instrument setup, it can be on all strings. Deep tone could be easily mistaken for rich tone at the beginning of your practice, especially on the G or D string, but that is a serious error in estimation; beware of this.
Metallic tones are found on most instruments, even on high-quality ones. Metallic tones typically exist on every instrument with high sound projection. So if you insist on the most powerful sound of your instrument, it is almost certain that you will be forced to accept a certain measure of metallic flavor, primarily on the upper strings. As I personally do not like metallic tones, I tempered my setup's amplification of sound power to the point where there
Response speed is of course not the type of tone, but it is closely related to every tone you produce. It is very important, especially for a soloist instrument, that the response speed does not fall below the acceptable level. Generally, I should say that setting up the instrument to have an open and strong tone leads to a higher response speed.
Wolf tone is a very bad feature of some instruments that is typically found on the lower strings, but experienced luthiers say it can be everywhere. Wolf tone is the unstable tone most like to mumbling on a specific tone. Differently from the murky tone above, this mumbling is on a particular tone or in a narrow range of a few neighboring tones. Sometimes it is intermixed with normal tone, alternating. Can be caused also with inadequate setup, mostly forsing sound post into overly high pressure.
Tone cracking is also a very bad feature of some instruments, the expensive ones being no exception. That is the situation when you do fortissimo on E string typically, with maximally strong and possible accent from your repertoire, when you hear very ugly mixture of undefined "breakdown" frequencies. Don't worry; you'll recognize it immediately. That is the sign your instrument is out of register. I suppose that instrument should be avoided in purchasing and I am not convinced that it can be repaired by setup without loosing the performance.
As you can see, it is almost impossible that the violin luthier will make the effort to fulfill all your demands. Luthier has no idea what speed of response you prefer, how much metallic tone is acceptable for you, or what you want in every aspect of the violin setup. The vast majority of luthiers do not know how to play themselves, or play badly, so they are not able to test the finer aspects of setup results and easily miss the specific faults of instruments, like wolf tone or cracking. In that respect, the personal instrument setup and learning of this procedure might be invaluable.
The subject you learned in this section will be used by you in the next step, which is sound post setup.
Basic sound post method
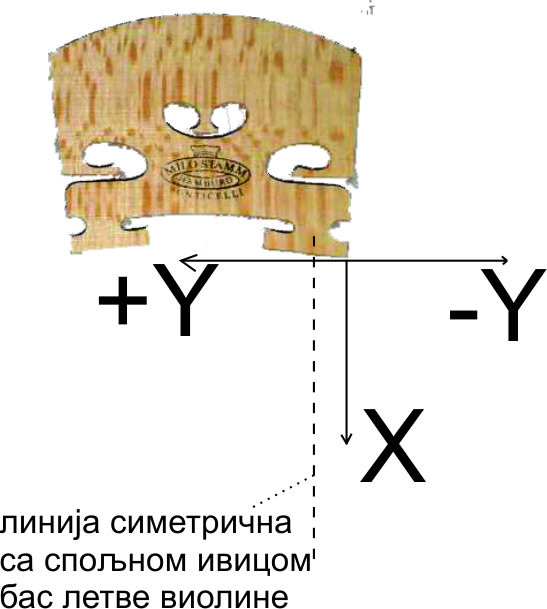 |
As you know, the sound post is the critical part of the sound setup. From all adjustable parts, the sound of a violine most critically depend just from sound post. The sound post position is measured from the bridge's right foot in the plane of the upper board. Х and Y coordinates are the distance of post circumference to the bridge right tow. The side right or left of the bridge are relative to the player position. The dashed line is the symetrical line to the outer bass bar of the violin. |
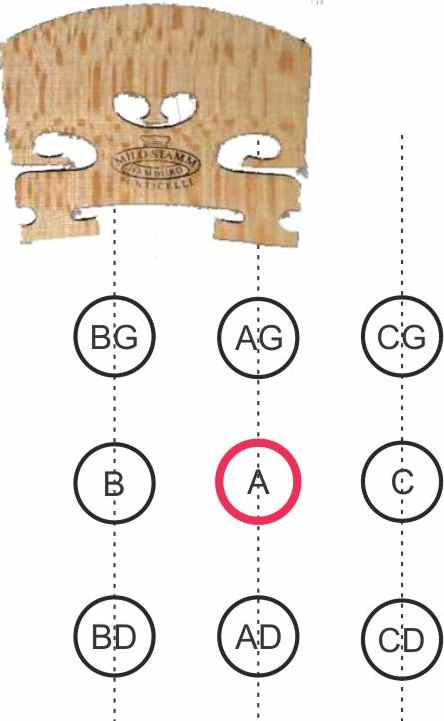 |
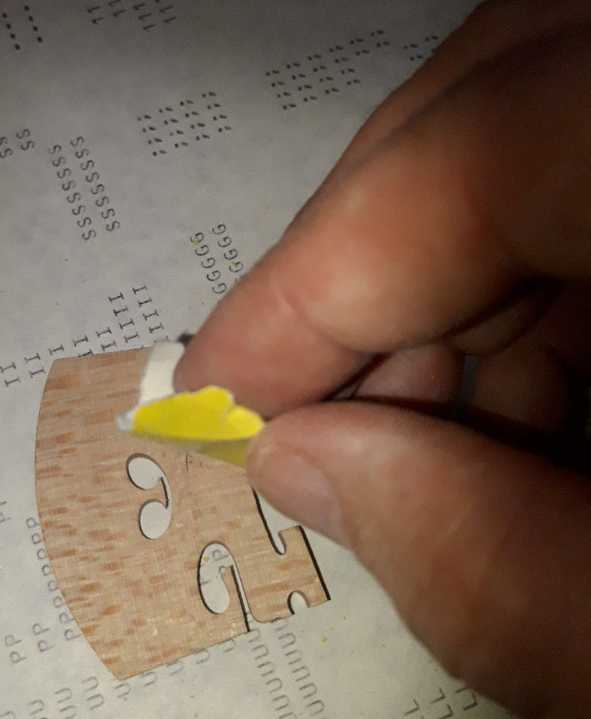
The red color in the picture designates the original sound post that you found in your instrument, which is the A position. On the innerside of the instrument, through the F slot, you should mark position A on the lower board of the instrument. The A position is the basis of your procedure for moving the sound post, typically 1-3 mm in any of the 4 directions. The other positions on the picture are shown at a large distance from A because of visibility. However, in practice, all these positions are overlapped and different from each other only by a few millimeters! After marking the post position, make a note describing the tone that you get in position A. After that, you need to learn how to extract the sound post and how to set it up again. On the Internet you have large number of video presentations how to deal with sound post. You will need some practice for this.
|
|
First you extract the original post and check the quality. After correction of original post, you should insert the post in two other positions, AD and AG, and make notes what type of tone you hear in every position. By doing this, you have done the A line of your sound posts. |
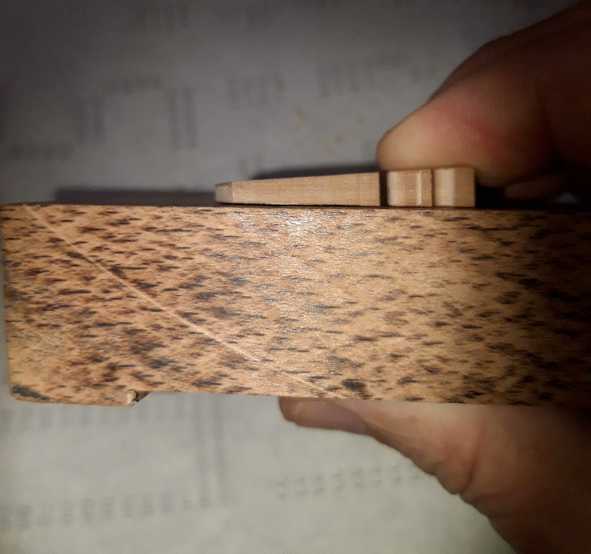
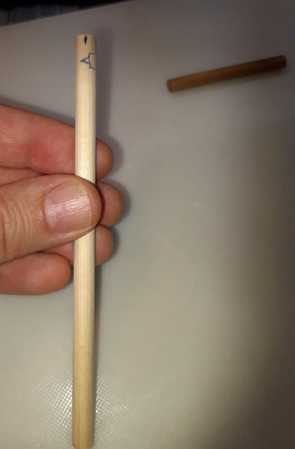
Also you need to learn making of new sound posts. On the picture you have the beginning of making a brand new sound post, and int the upper corner is the original sound post. Д is my mark for lower (доњи) part of sound post. The mark above Д is the direction of cross section grain, and that direction is parallel to Y axis. |

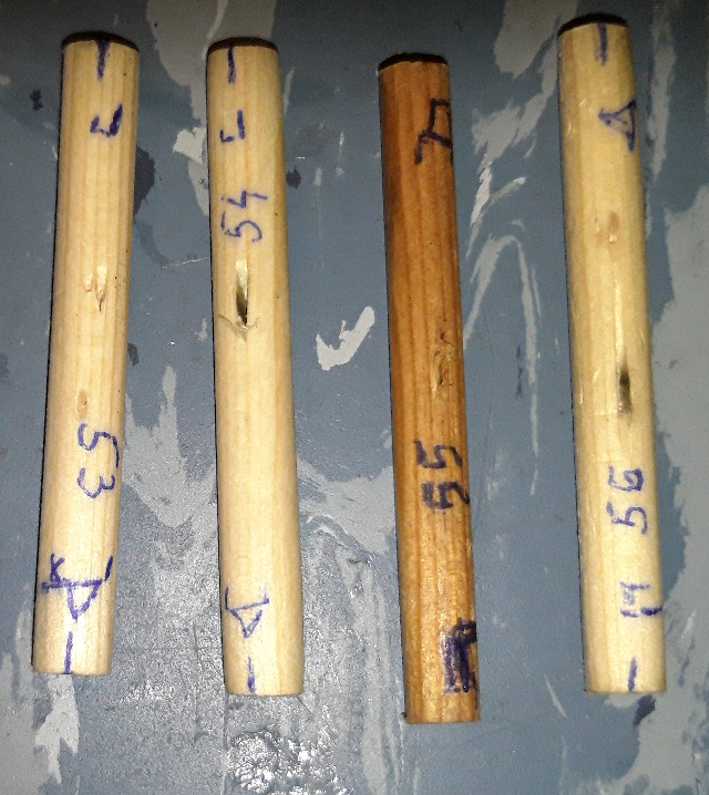 |
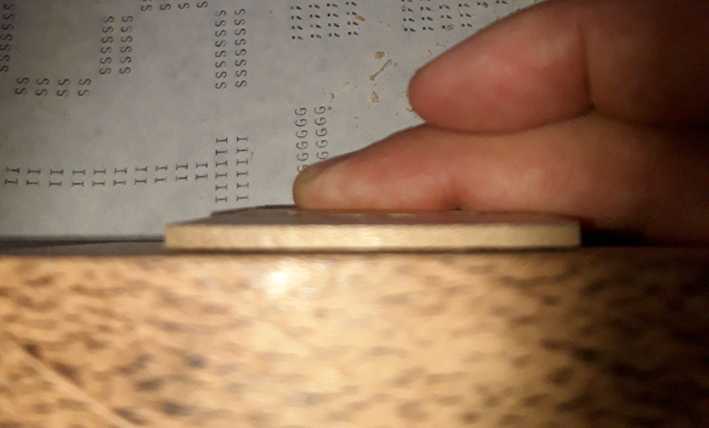
For every line you will need to make a specific sound post: for line A you can use the original sound post if acceptable, for line B new sound post and for line C also new sound post. An example of this is my collection of posts. |
When you finish every position (at least 9 of them) and make a note what tone dispersion you get, then you decide if additional positions or new sound posts are needed for further testing. When this process is done and a list of positions is obtained, you choose the best position(s) and there you insert the sound post in its final position.
After that, enjoy the tone for a while, you deserve it, as some TV advertisements say!
The pegs setup
The peg setup is described on the site of luthier Davide Sora.
For pegs setup first you must adjust the blade of peg shaver by using peg box reamer. Only then can you use the peg shaver properly.
With the pegs, the problem is existing holes in the peg box. First, you have to measure the existing holes and then use the reamer to broaden them as little as possible. Typical peg shavers for violin pegs have the largest diameter of 8.0 mm, and you already have box holes of 7 to 8 millimeters in diameter, so we see that every tenth of a millimeter counts. If you buy larger pegs, you should know that a peg shaver can shave a 1 mm larger peg than its maximum diameter (8,0mm). If the peg is larger than 9,0mm measured below the neck of the peg, the shaver will not be able to shave up to the neck of the peg (the neck is below two thin rings below the head of the peg).
 |
 |
Setting up pegs is important because holes in peg box get warped during use, so the existing pegs do not turn properly. It is best to change the old pegs with the new ones and do all the crafmenship requires. Second, the pegs are the entrance point into the next and last step, which allows us to use a wooden tailpiece with a minimal number of fine tuners instead of a metal tailpiece. Without new adjusted pegs, the wooden tailpiece would need the maximum number of fine tuners, and consequently, the tone would be spoiled by a metal timbre.
Setting up tailpiece
In pursuit of better sound quality, as you know, the wooden tailpiece has a clear and proven advantage in most cases over the metal tailpiece. If you tolerate metal tone and strive for absolute sound power, you might ignore this comment, but for most performers, that is not the case.
The essence of putting a wooden tailpiece in place is adjusting the tailgut to the absolute minimum, which allows for mounting the tailpiece on an instrument. A longer tailgut would affect sound quality.
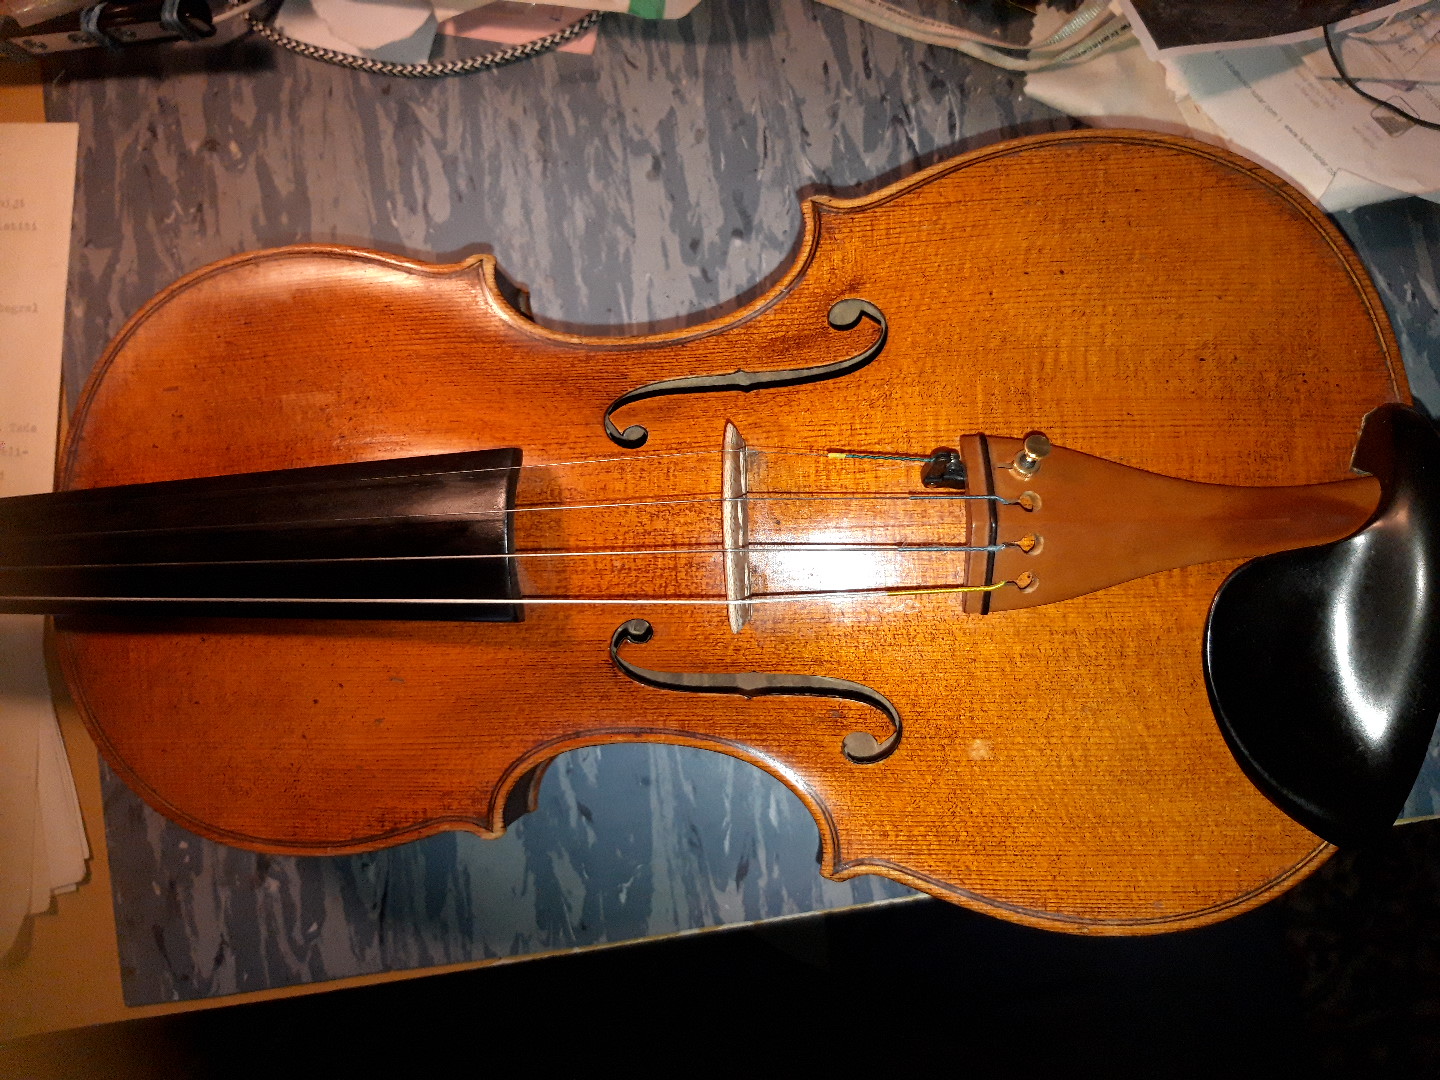
The princess
| Violin not adjusted | |
| Adjusted violin |
23.1.2023