
Before undertaking this job take care to obtain the needed welding skills; it is advisable not to experiment by your own but to learn from a professional.
Metalwork workbench for small workshops
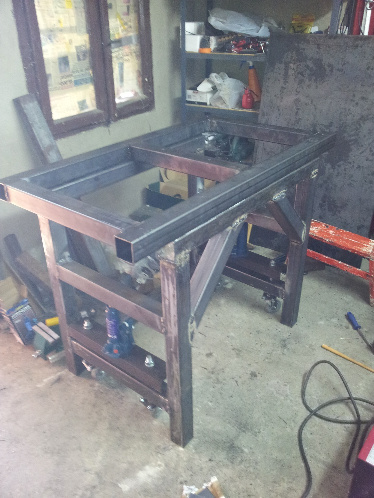
This is similar to the case of carpentry workbench: problem is how to make a small but even heavier steel workbench suitable for small workshop. Well that is possible as well, as can be seen in the pictures below where one can find construction details.
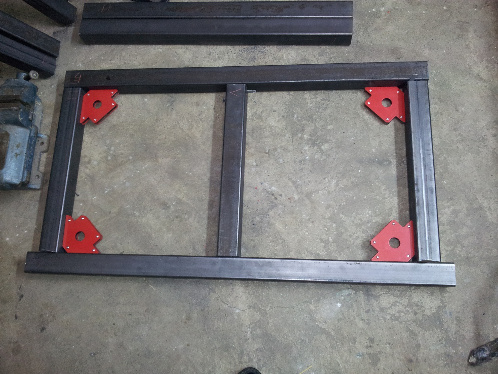 |
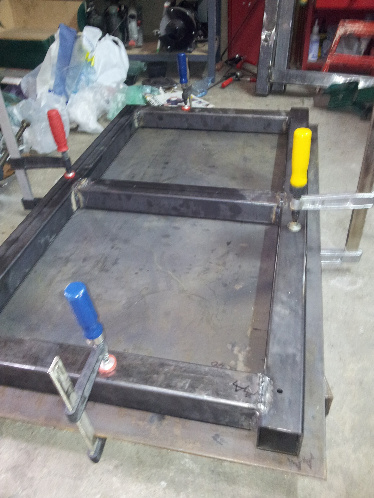
It is very important the workbench panel support is precisely leveled or otherwise the table surface would warp. Here one can see the beginning of the leveling process. |
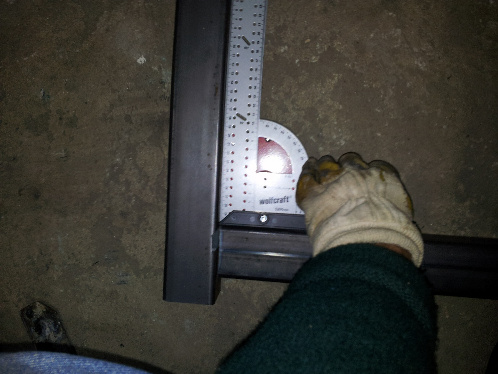 |
Check the perpendicular edges. |
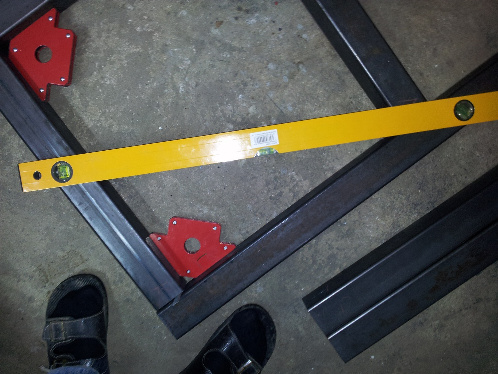 |
Using level to achieve horizontal panel support - everything must be perfectly horizontal. In problematic places you should underlay metal washers below profile until the perfectly leveled profiles are achieved. |
 |
Weld the tubes carefully. You need a certain experiance for this: start with spot welding, and every time you do it check the leveling again. It is only at the end of the process when you implement the full welding.
|
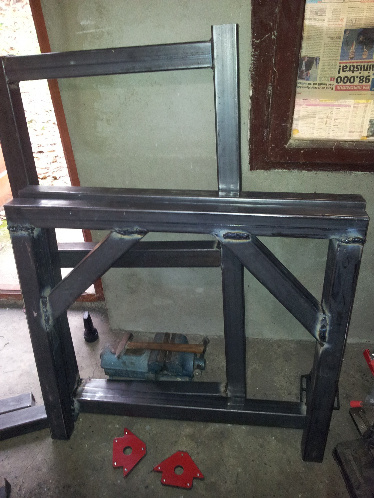 |
Here the front and back table legs are welded. A pair of angled tubes reinforce the construction. |
 |
Before the table panel support is welded to the front and back table legs, first we should drill holes that will be used to screw the table panel to the panel support. In my construction the panel consists of two steel sheets each 5mm thick that gives whooping 10mm thick panel steel. |
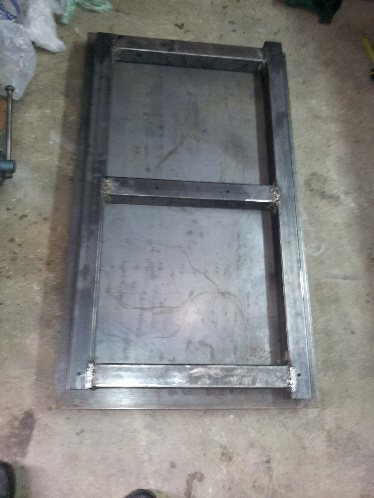 |
Drills are made. The screws will go through both upper steel sheets as well as the whole plate support. That construction would contribute to tightness and level the plate where it needs to be. |
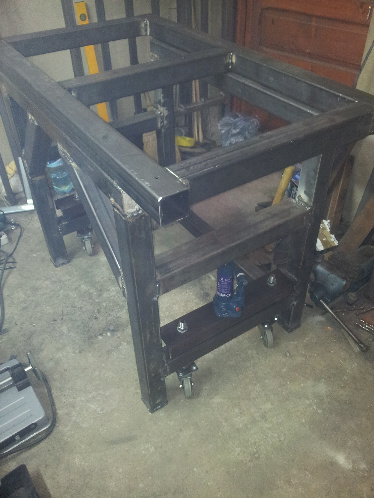 |
The rest is more or less rutine: welding the plate support to the legs. Important detail: cut four metal plates and weld them each of them to a threaded bar. Every plate will carry one wheel. A Pair of threaded bars on both sides of table goe through a channel iron. The channel iron is fixed to threaded bars with two nuts, one nut on each side of iron. On the top of iron we should place a hydraulic jack. That we shall do on the opposite side as well. Now the workbench is equiped with the elegant way of lifting and moving! Either you belive it or not, 190kg is lifting, descending and moving with two fingers only! |
 |
Observing from different angle as well if you didn't see it well... |
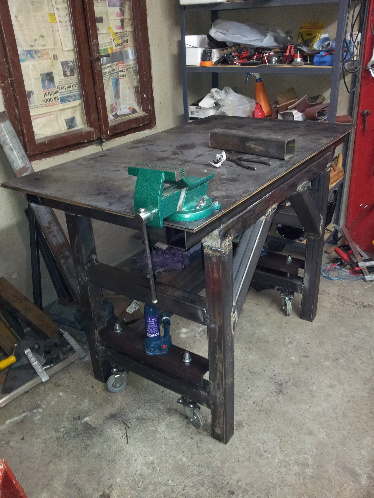 |
At the end you have to mount the upper panel and fix it to the support with screws. Drill the holes for metalworker's vise and voila - the phenomenal workbench is ready for use! |
2014 Serbian version, 7.4.2017 English version.