Carpentry / Table router - make your own
This project is intended for hobby carpenters as well as pros. Although intended for carpenters, for the serious table router project you will need some of your metalworking knowledge. If that is not possible, you can have the metal base for this project made for you, and then you can finish the project by means of your carpenter methods.
The following text will comprise the elements of carpenter, metal work and electrical procedures, so the author of this text do not take the responsibility for eventual mistakes, misunderstandings or risks that the reader can undertake when doing this project if he does not know the professional areas, although the best effort is used to correctly present all of the steps and procedures needed for the project. So if you really lack the knowledge or feel very insecure, let some or all these operations to the pros.
Why do we need the table router with metal base?
 |
 |
 |
 |
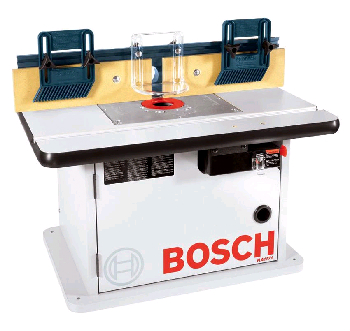
Internet and carpenter magazines are literally flooded with free or paid plans for DIY projects of table routers. Almost all easy accessible router tables are mostly made of wood. Why making the router with metal base then? The short answer to this question is: quality
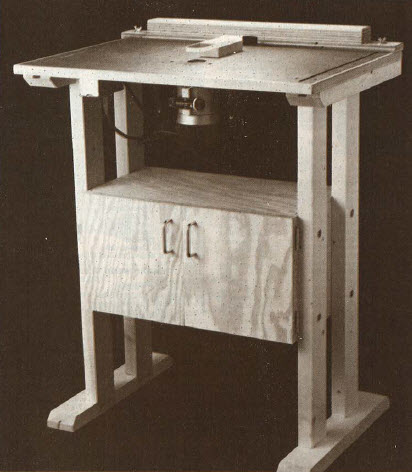
The most important problem of easily accessible plans for table routers is that in these machines with a wooden enclosure would occur the warping of table top due to highly inadequate construction. Just one millimeter sagging of your table top is enough to obtain deviation of the cut in material.
My opinion is that a router table with a wooden enclosure is suitable for the harshest work, say on the building site, and then must be done with a very thick top plate. The only advantage of the "wooden" router machines is that you do not need experience in working with metals when making them. However, if we consider that you can get very bad variation of machinery which degrades over time, then this advantage is not significant.
On the other hand, routers with metal base are a significant investment, especially for hobby carpenters. So in this article I'll show how to make the right router table with a metal base in DIY project, at a price that is an order of magnitude smaller than the factory version of that machine.
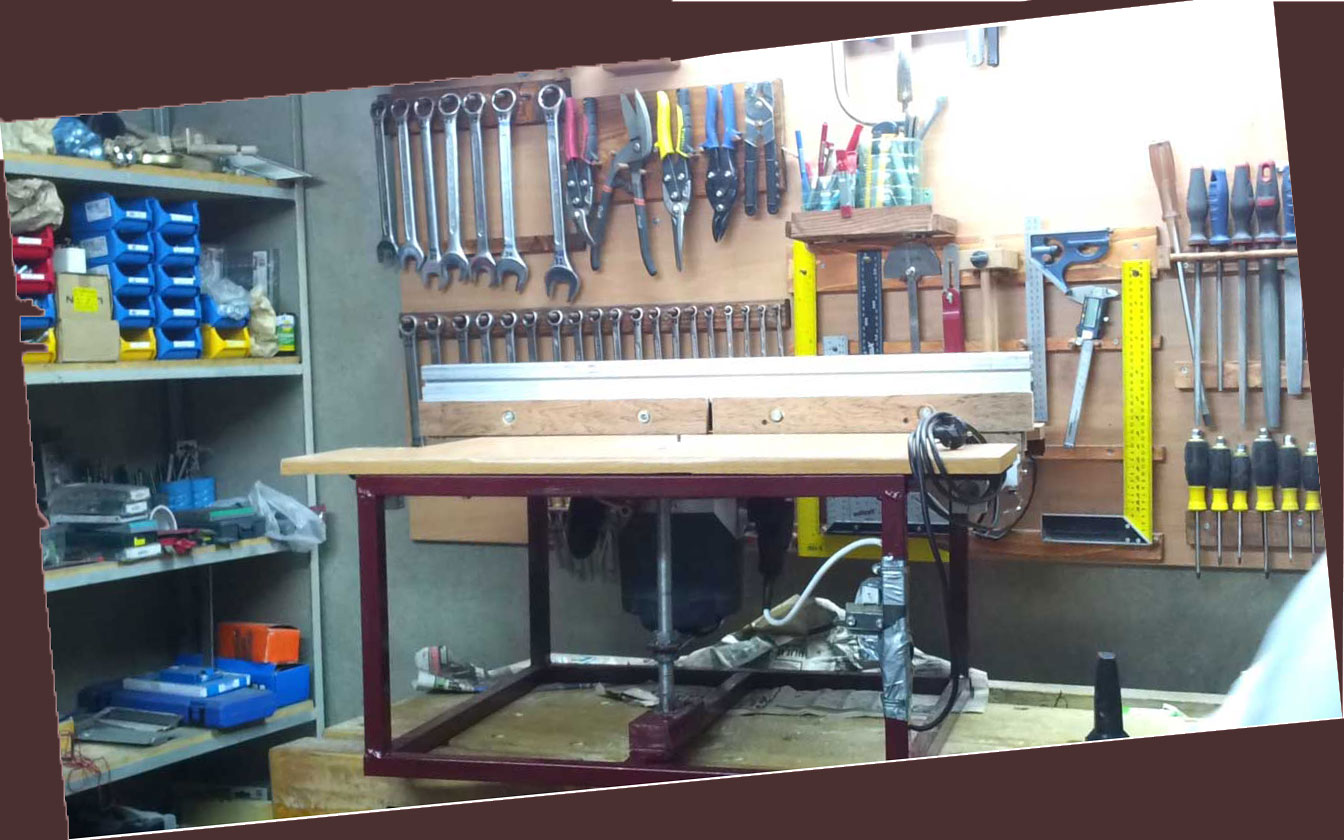
The metal base is made of standard steel profiles with square section 25x25mm. Here we show how one can make metal base, but if you do not want to do that yourself, contact a workshop or a friend who will make it for you. In any case, the images will show you what you need to plan, so based on the following text you'll be able to specify the correct dimensions for your new productive machine.
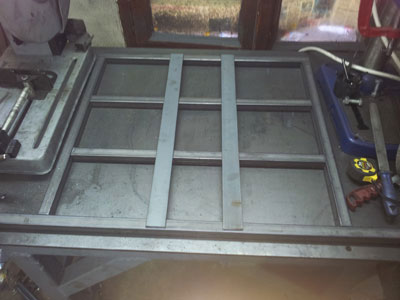 |
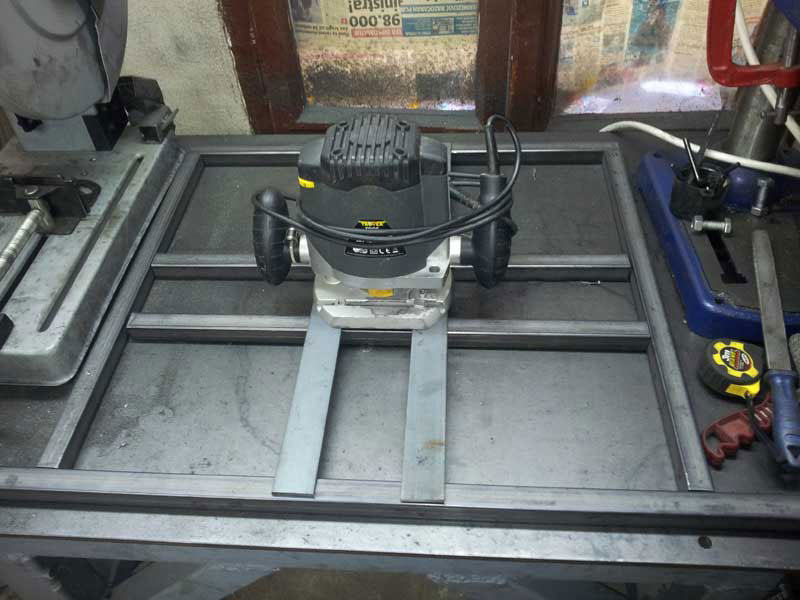
We make the upper base part - "grill". In picture you can see jet not welded grill part. The grill comprises of a frame with two lengthwise (horizontal in our picture) and two crosswise (vertical in our picture) metal elements. The crosswise elements are two flat profiles 40mm wide and 5mm thick. The crosswise elements will carry the plunge router that will be screwed in those elements:
The lengthwise profiles above shall give the solid support to the crosswise elements and the table top panel. |
||
|
Here I have checked the position of plunge router. The metal profiles are still not welded until we are completely confident about it. |
|||
 |
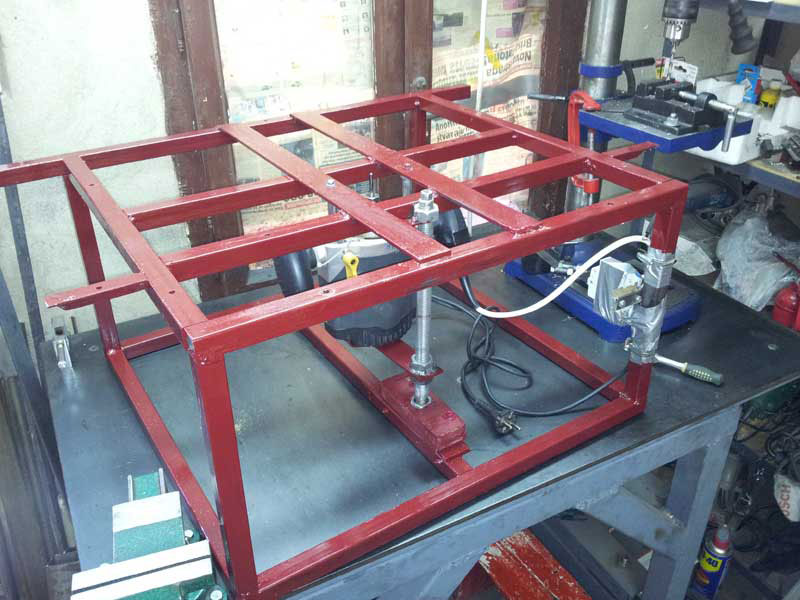
In the picture we see the inverted metal base standing on the cut wooden panel. The lower metal profile of the metal base (in the picture it is in upper position) has add-in consisting of L-profile that will be suitable for screwing the foot of router lift into it (see the text below). The wooden panel I used is actually a chipboard not because that is the best material for that but because I did not have much better at hand. To you I should recommend the plywood or MDF panel. In the picture you can see the intended positions of wooden panel and the metal base. |
||
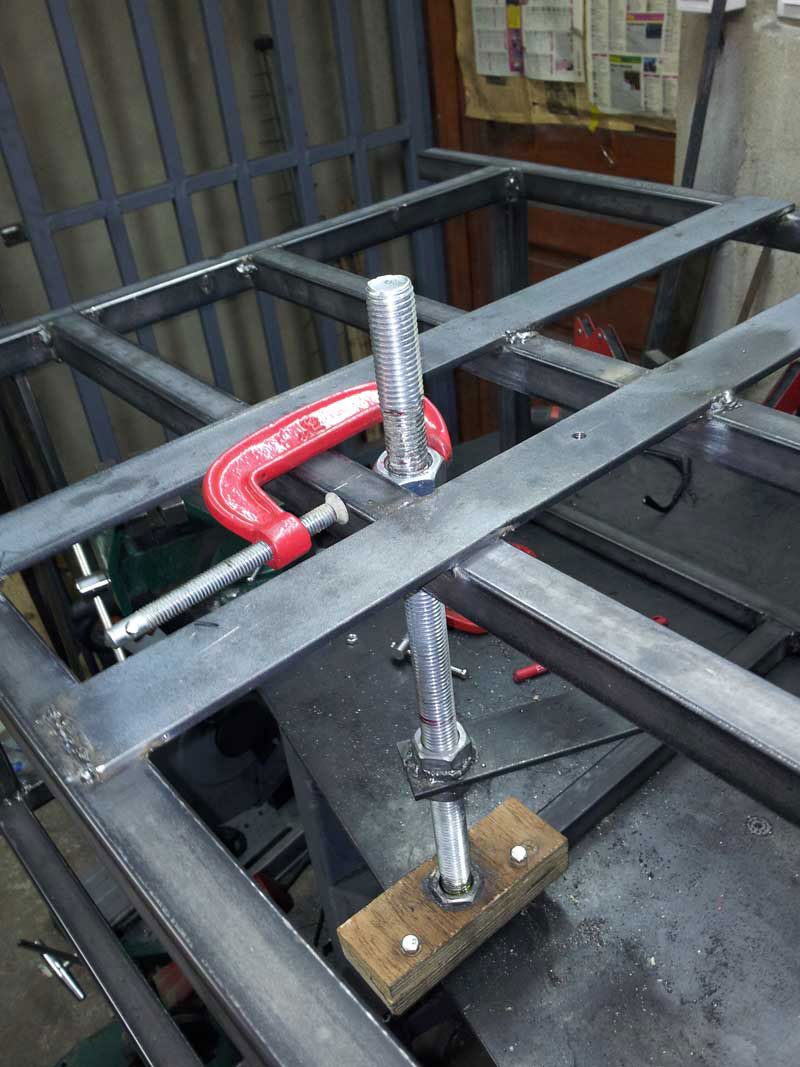
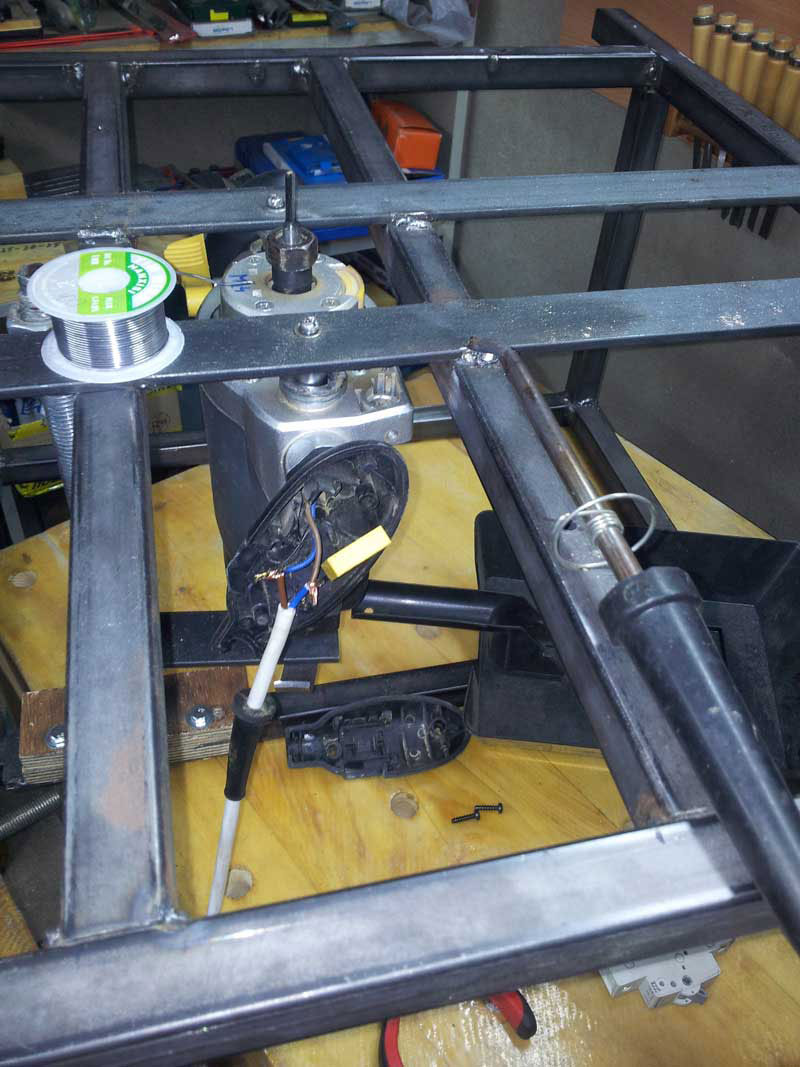
Unlike incorrect, complicated and highly tendentiously making of router lift in magazines and on the Internet, here I present the construction of simple and functional router lift. Lift consists of two plates (wooden foot and the lifting flat bar), threaded bar and a few nuts. The lift has a base (foot) made from wood that is screwed into the lower cross section of metal frame. You can see in the picture shows that I welded metal washer to the lower end of the threaded bar; the washer itself is positioned between the foot and the metal base. Washer and the threaded rod can freely rotate. The lifting flat bar in my construction (see photo) is made of steel, but it can be made of hardwood. At the place of contact between lifting bar and the threaded bar there are two welded nuts, one on each side of the lifting bar. If you prevent the rotation of the lifting bar, then the rotation of threaded bar will cause the vertical movement of the lifting bar and thus define the height of router bit. Upper nut is attached to the metal frame. This attachment I conducted using the additional L profile similar to what I did for a foot (see previous image). Threaded rod will be processed with angle grinder and perfected with a file so that it matches the wrench by which we adjust the height of router bit.
|
|||
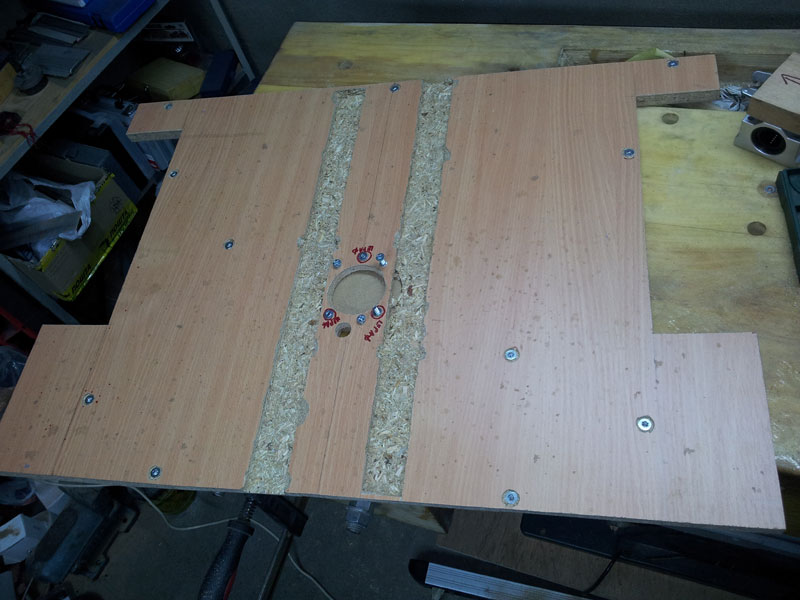 |
The picture shows the preparation of wooden panel for mounting on a metal frame. On the left and right sides of the wooden panel there are cutouts for the parallel guide rails. |
||
|
|||
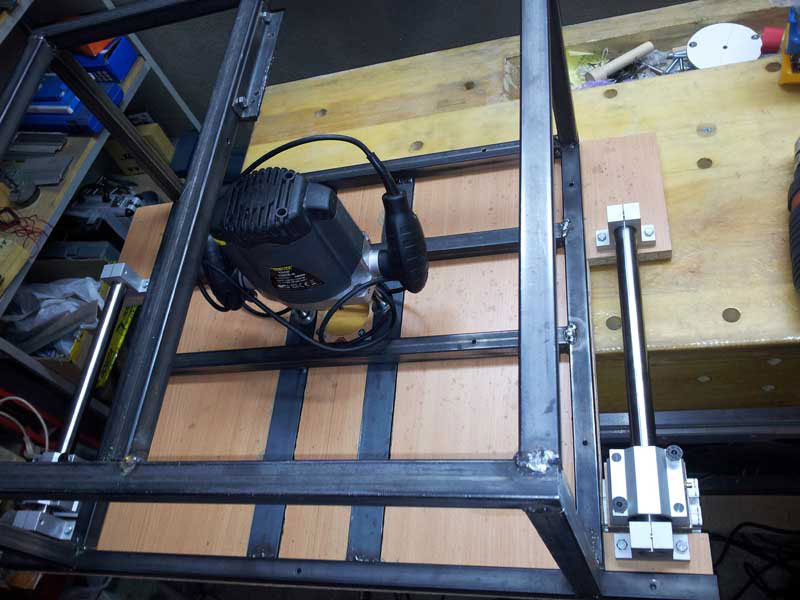 |
In this picture you can see on both sides the installation of two parallel fence guides. Of course, these elements are bought and provide the seamless sliding of parallel fence parallel stop and micro-adjustment (this is the operation after rough cutting when you do fine tuning the position of parallel fence.
|
||
 |
Painted metal frame. Note that I mounted additional metal supports for table top. This is done afterwords to achieve the support as close as possible to the parallel fence guide carriers. You can see the tapered top of threaded bar of the router lift. Compared to the previous picture, the upper nut through which the threaded bar passes through, is re-positioned more towards the front edge of metal frame so as to give more space for movement of plunge router White cable is leading from the router to the circuit breaker.
|
||
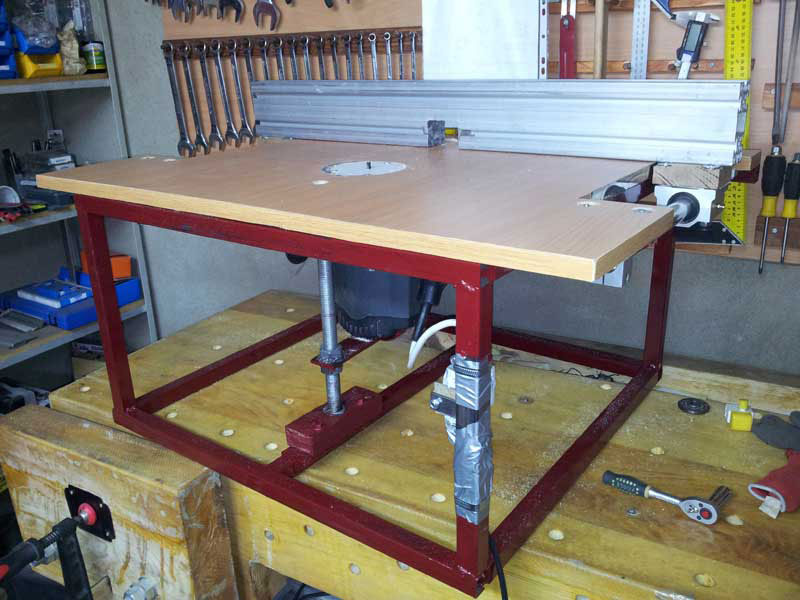 |
This is how the nearly completed router table looks like. The parallel fence is implemented with extruded aluminum profile. | ||
|
Final touch: I added wooden fence along the aluminum fence made of two haves so now we have better control of wooden waste.
|
|||
Not pictured here is the add-on extension that brings out the sawdust through a parallel fence, as well as the back side of the parallel fence with toggle clamp used for fixing the fence in position. The essence of creation is, however, in front of you.
This structure of mine has a few special advantages in relation to amateur router tables with a wooden enclosure:
- no deformation of the table;
- vibrations are eliminated;
- portability is maximized;
- access to the interior is immediate because there is no housing.
It is therefore a serious project, which adds one of the best machines in your workshop - at your own cost, high quality and much cheaper than factory-made.
17.7.2015