SLAVNE standard for marking parts in woodworking project
So far neither the world nor Serbia has a uniform standard for labeling parts of furniture that you produce in your workshop.
The reason for missing standard is probably the furniture industry generally has no interest in harmonizing their standards on this issue. So every carpenter when holding the door of his closet chose not to use any label or he scribed symbols known only to him.
Again the arbitrary labeling is very imperfect. Sometimes it is necessary to know which carcass side is internal one, sometimes one need to know the orientation of the work piece, sometimes it is important to generate sequence numbering of parts, and the like. In such cases, a carpenter is usually decided what label will be drawn from one occasion to the other, from one project to another, and marks are multiplied and changed with every carpenter over the years of his practice.
SLAVNE standard for woodwork marking, version 1.0

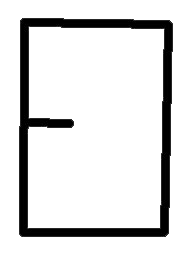
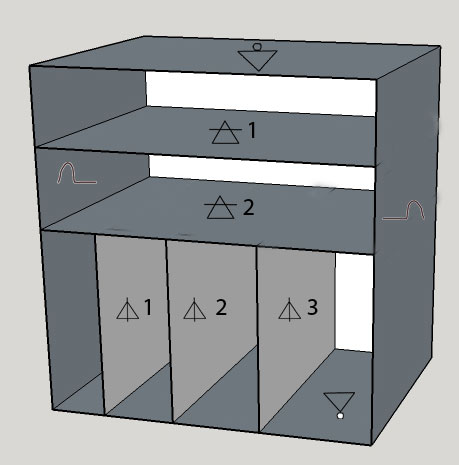
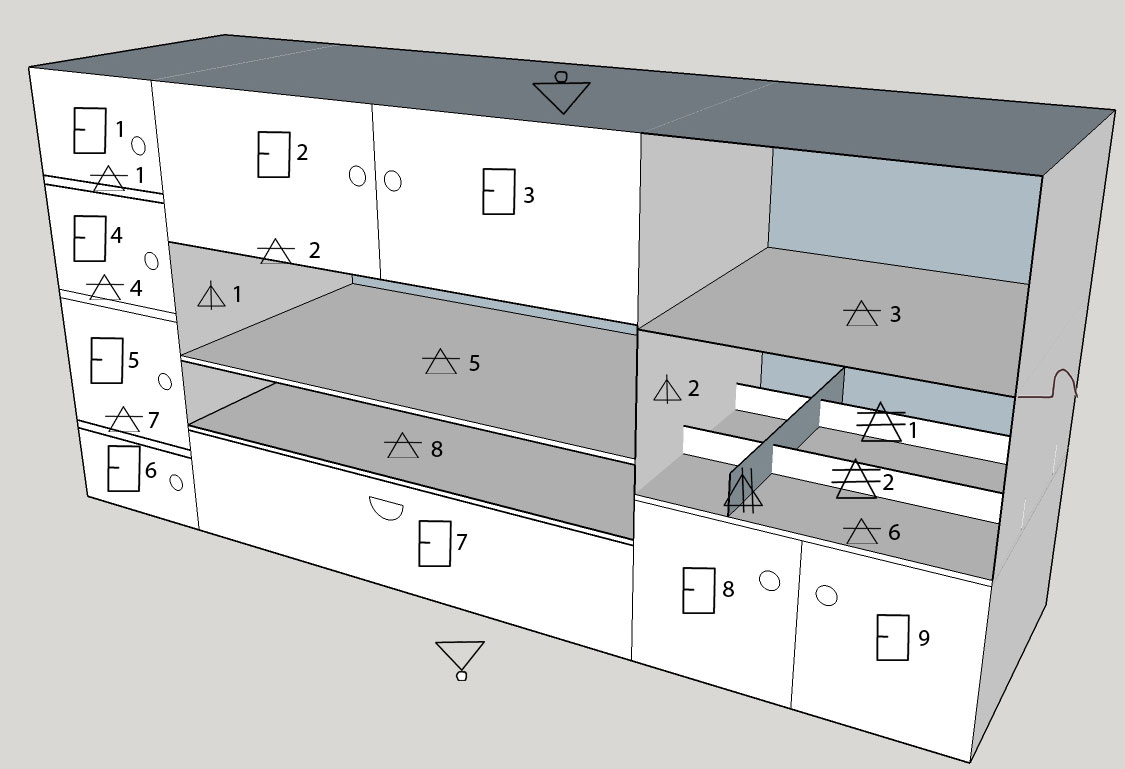
Benefits of SLAVNE standard will be apparent to the reader during the follow-up of this text; let’s be practical immediately to see how this (potential) standard applies. The first example is on the right side. Pay attention to the labels on each of the elements of the carcass.
Let us note immediately auxiliary rule:
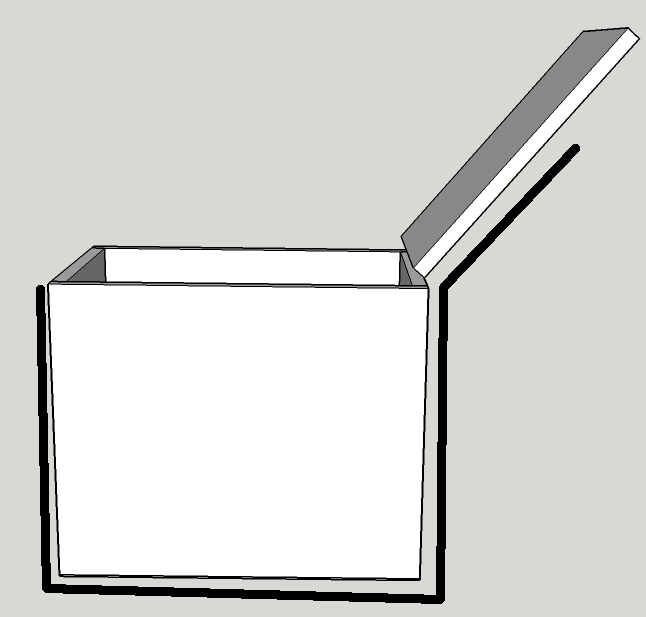
- Each label is printed on the inside of the carcass. If you need to display a label on the outside of the carcass, you will do it by putting the symbol in parentheses open outward, e.g. ) ![]() (
(
If you want to emphasize that the symbol is on the inside part of the carcass, close the symbol within parentheses, e.g. (![]() ). In other words, symbols
). In other words, symbols ![]() and (
and (![]() ) have the same meaning. Specifically, if you just want to mark that a side of a carcass board is the outward side with no further qualification, use the symbol ) (. Similarly you can mark the internal side by using the symbol ().
) have the same meaning. Specifically, if you just want to mark that a side of a carcass board is the outward side with no further qualification, use the symbol ) (. Similarly you can mark the internal side by using the symbol ().
In the following table we present an explanation of the symbols used and the easy way how to memorize them permanently.
| symbol | meaning | how to easily memorize the symbol |
|
|
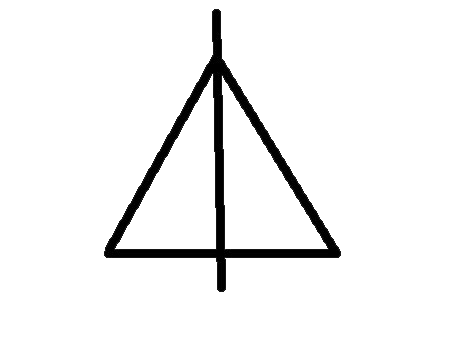
element positioned to the right of observer | 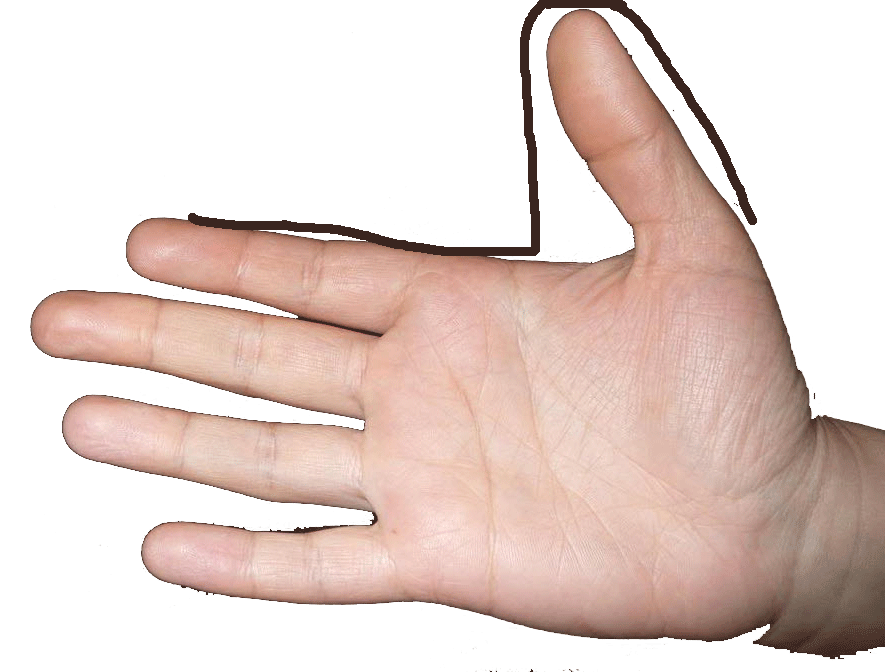 |
 |
element positioned to the left of observer |  |
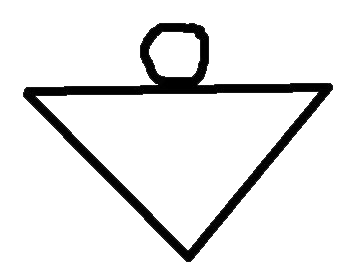 |
upper part element | 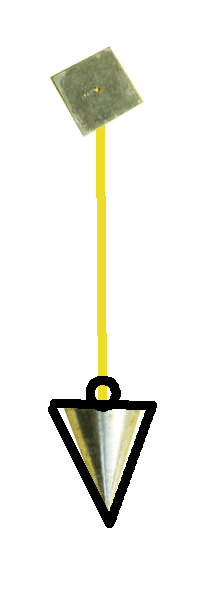 |
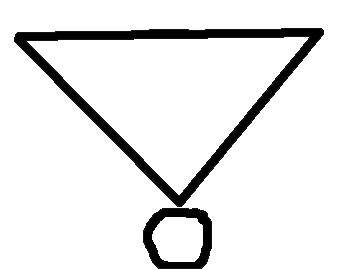 |
lower part element | 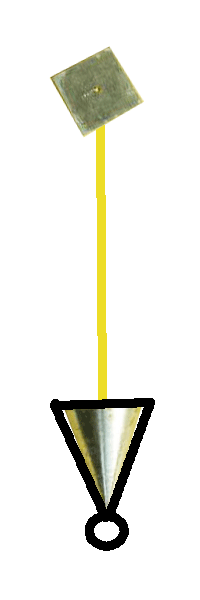 |
 |
element positioned further away from observer, back element, at the back |
 |
 |
element positioned closer to the observer, front element | 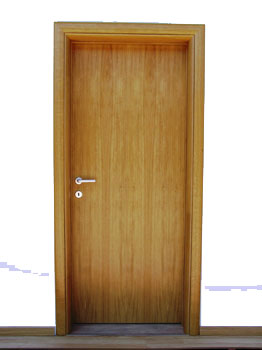 |
From here you can see the method that will be constantly applied to each arbitrarily complex piece of furniture: first you should note imaginary outer shell i.e. "outer" casing and mark it's parts with the labels from the previous table. Let us now see how to indicate the horizontal and vertical partitions in the carcass.
| symbol | meaning | example |
 |
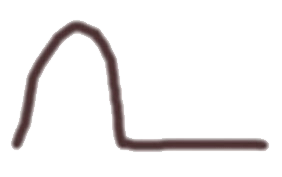
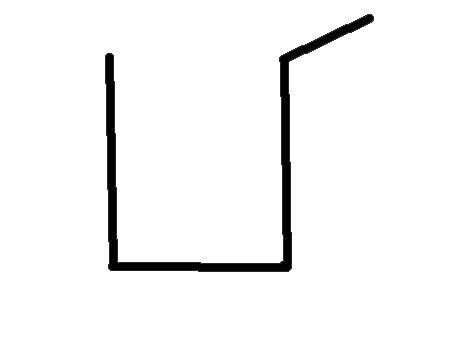
horizontal compartment | 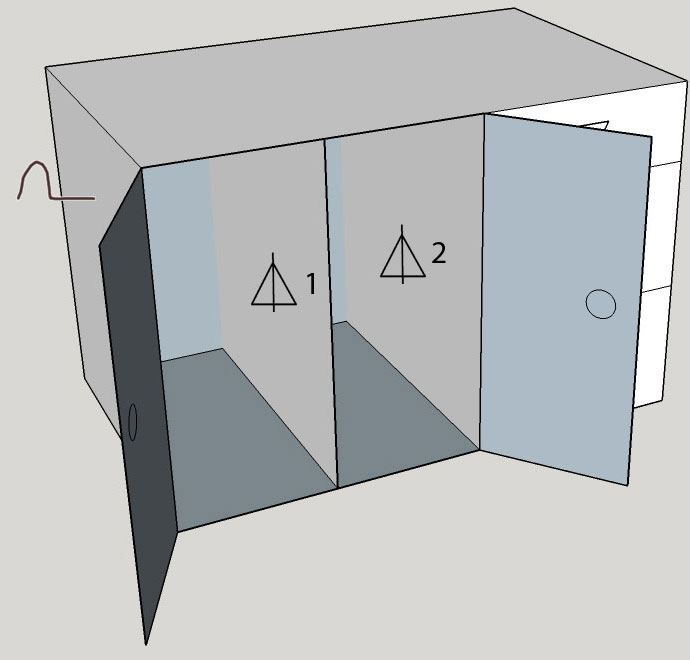 |
 |
vertical compartment |
Sections
Standard provides for the use of sections, usually by using letters: A, B, C, D, ... Section is defined as a group of elements that are separately connected and make operational or logical whole. Section should be implemented when you want to form a group of elements for easy labeling and work with them as a unit. Examples of a section: drawer elements, parts with specific partitions, elements of a frame, composite door and so on. If you have a problem with complex numbering, simply divide the furniture structure into sections and number the sections. In the previous example, the furniture with double door could have been one section, which is avoided because there is no other parts with specific compartments. The drawers on the right are sections for themselves. As can be seen from this example, you have the freedom to form a section of your choice, of course adhering to a consistent logics. In Serbian the letter Ф is recommended for drawers (Фиока), in English it is recommended to use letter D for the same purpose. E.g. D4 should be the fourth drawer (section) for English speaking population.
Next following picture illustrates the section forming better:
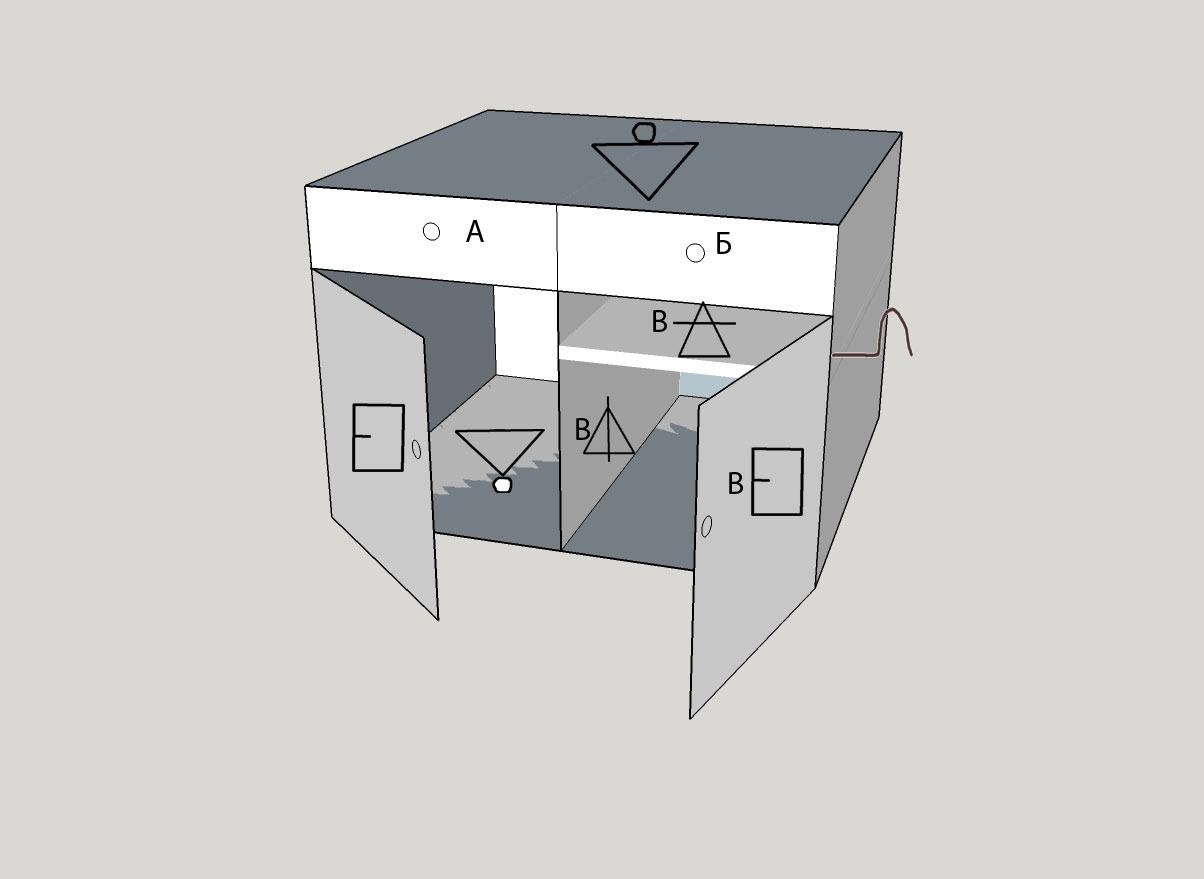
Ordering numbers
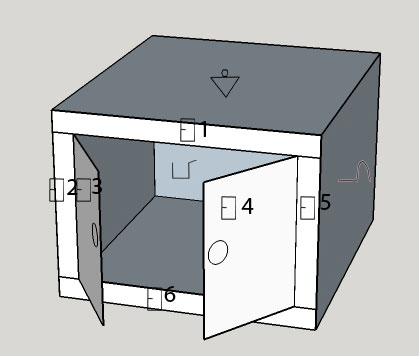
Let us analyse the order of marking in the example on the left. First notice and label outer sides of carcass thoughtfully composed of the upper panel, the bottom panel, left, right, back and door. In our case, we have two doors, the right one which belong to the section and the left door which is marked as part of imagined outer shell of carcass. Sections A and Б as drawers, and section B is formed as a section because it has a special horizontal partition.
Alternatively we can form the forth section in the left lower part as well, although in this case I did not feel that particularly justified, nor important anyway.
Let us learn here the following additional rules:
- each alphabetic, numeric or alphanumeric designation with its lower side of the symbol defines the underside of the vertical element, or the front side of the horizontal element.
- a marking symbol should be written on the right side of the vertical panel, or on the upper side of horizontal panel. If you still want to scribe the symbol on the opposite panel side however, you shall scribe the symbol inside the brackets open to the outside like we did with the carcass.
- when scribing alphabetical or numerical labels we should use alphabetic order eg A, B, C in the direction of the left -> right, top -> down, ie as if reading a book.
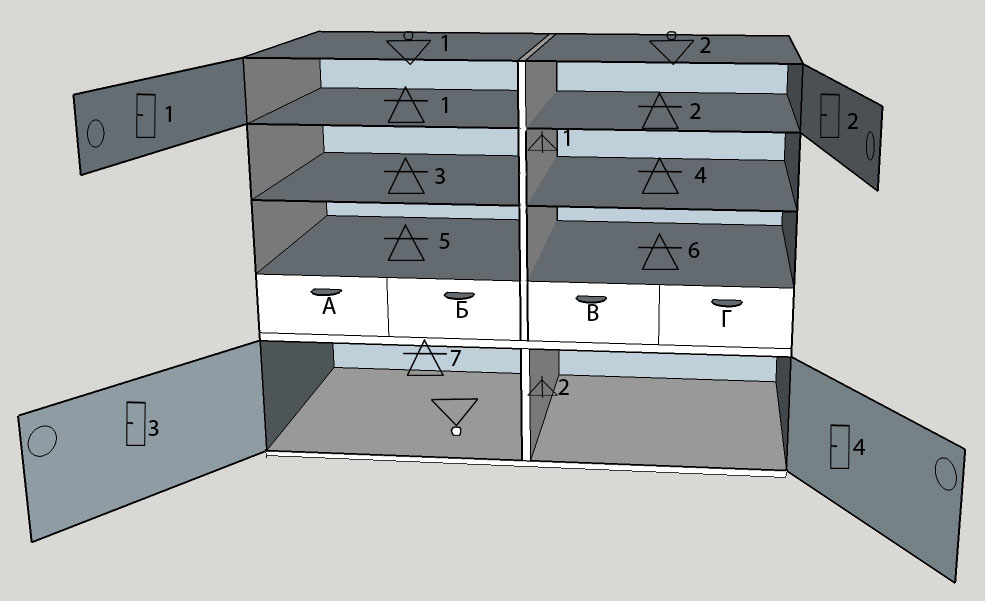
A more detailed example of a regulated labeling (ie 1,2,3 ... A, B, C ....) we have in the following picture:
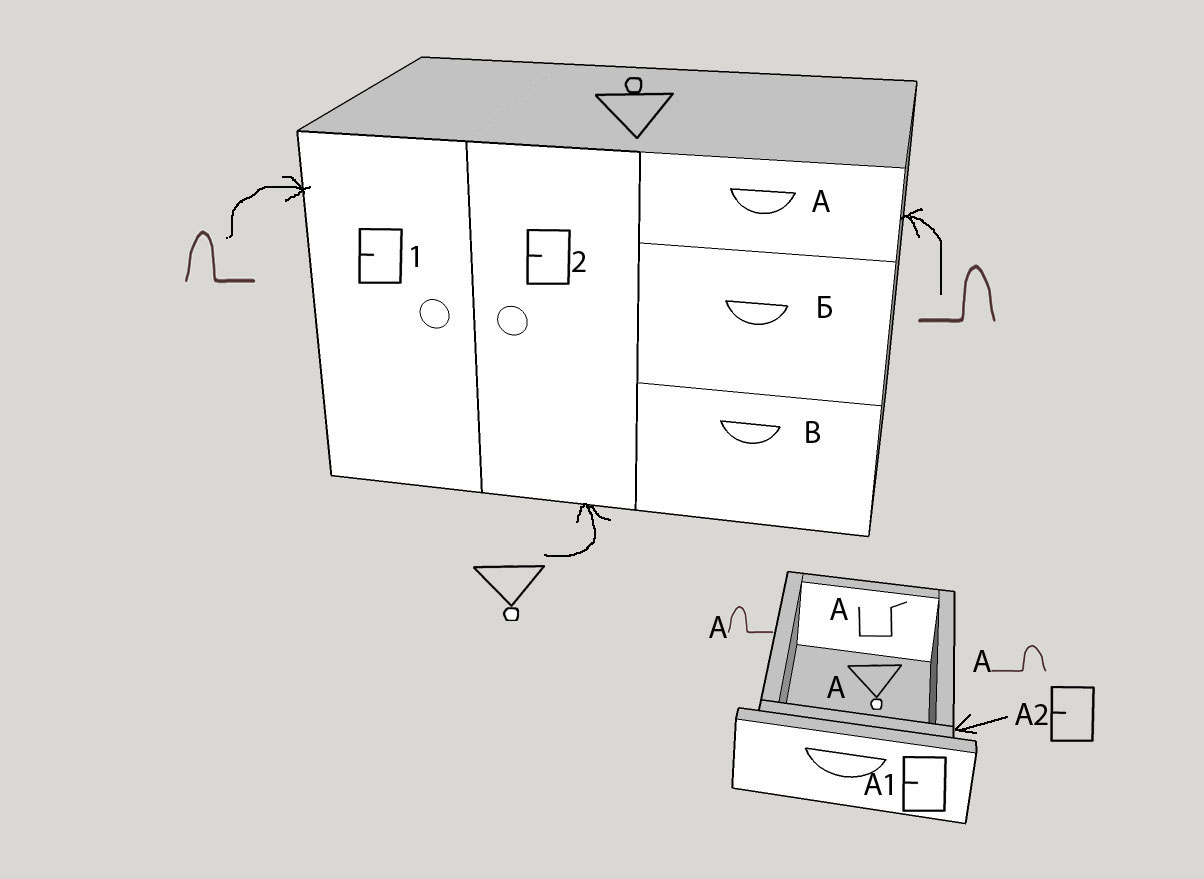
In this example we see the order of drawer sections as well as the order of double doors. The next example on the left side illustrates the order too:
The general list of numbering rules:
- numbering is done by the category of the element (eg, all front elements, all horizontal panels, all vertical panels and so on).
- numbering then work from top to bottom by horizontal levels. The numbering of vertical elements: it is like reading a text - from left to right, top to bottom. Numbering horizontal elements (numbering by depth) goes by viewing this set of elements as standing upright as if it is the front element and then it is numbered like any vertical element - from left to right, top to bottom.
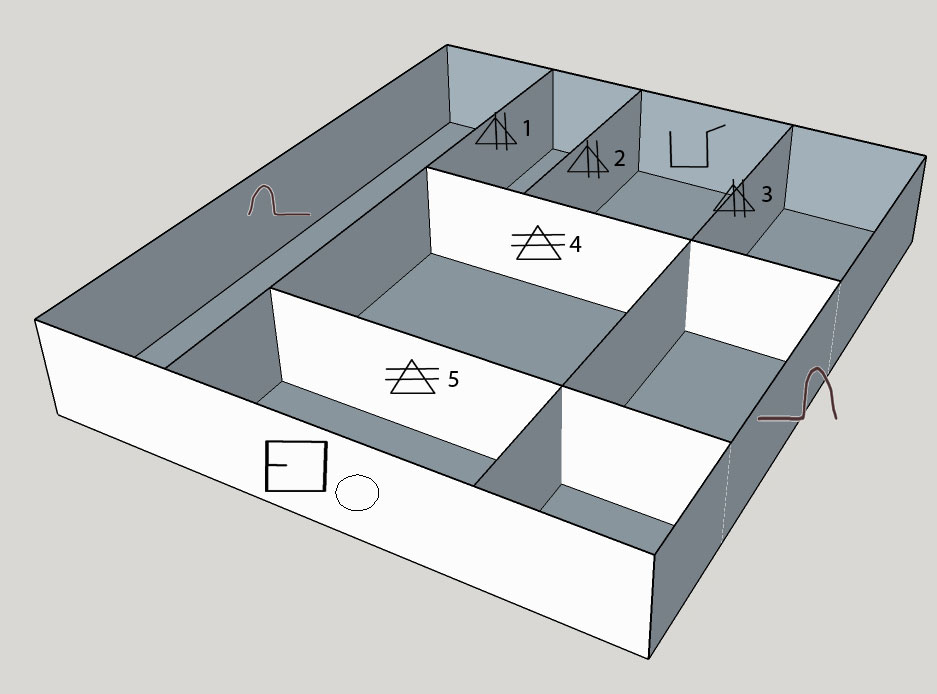
Let's look at the next example. It can therefore be seen that the upper side is separated into two parts that are properly numbered. This shows an auxiliary rule:
- Each category (eg category front element, category left element, etc.) numbered separately as mentioned like reading a book.
In the following example, we see that the front element, although using the door symbol by the standard, is not necessarily a door: it may be a batten from the front frame, or the element of the American-style carcass frame.
Horizontal compartments in carcass
SLAVNE standard provides a very simple symbols for vertical ![]() and horizontal
and horizontal ![]() compartments along the carcass depth as I demonstrated in the example of klaser-drawer:
compartments along the carcass depth as I demonstrated in the example of klaser-drawer:
In the case of klaser drawers it can be seen the auxiliary rule of numbering along the depth of carcass:
- Imagine the drawer is turned into upright position, and then numbered like reading a book. For the attentive reader: go back and look at the structure of drawers on one of the previous image on the right. You'll see the double front element labeled A1![]() ie A2
ie A2![]() - strictly speaking should be reversed because the elements are along the depth.
- strictly speaking should be reversed because the elements are along the depth.
And finally, here below is an example that combines many of the previous elements. Recall: first check thoughtfully outer shell of carcass, then number each category separately; decide about sections (no any of those in the example).
Unambiguous alphanumeric designations
Symmetrical symbols for numbers 6, 8, 9, as well as other marks, such as brackets, can be underlined to prevent unclear or ambiguous meaning or orientation of mark. Number 3 can be underlined in order to prevent confusion with Cyrillic letter of the same shape. If necessary the zero symbol 0 should be crossed by a diagonal line (Ø) to distinguish it from the letter O.
Reference labeling of board side and board edge
Point of reference are widely used in carpentry and that is why I have included those in my standard. If you use the factory-made elements then you will not need the reference labels. However for the pros and those who process their elements before installation, these labels are necessary - i.e. a reference side and reference edge.
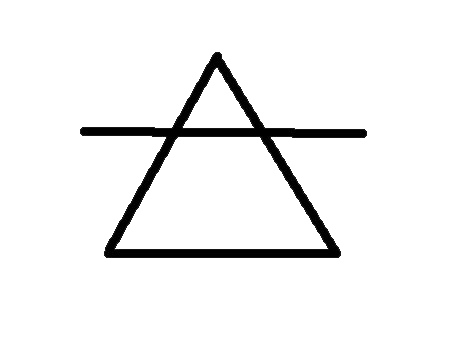
Reference side (marked as a Greek symbol alpha) of planks of wood is the side which gets processed first, by a machine called a jointer (surface planer). The reference means that the concerned surface is flattened by machine. Reference edge (marked as V) is the second to be processed on the same machine and meet the condition that it is at 90 degrees relative to the reference side.
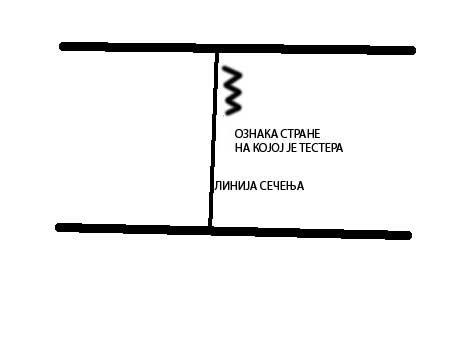
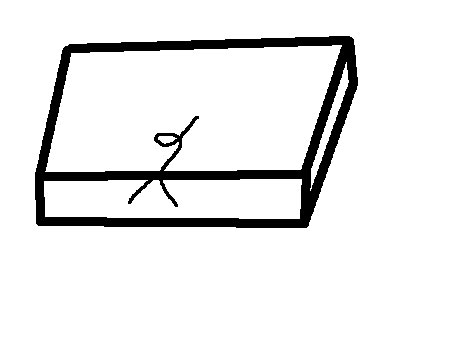
Operation marks
These are very common labels for: the side of the cutting, i.e. side of the saw blade, a big X mark for a waste part, and finally mark a small x as a universal mark the drilling position:
Correction of errors in labeling lines
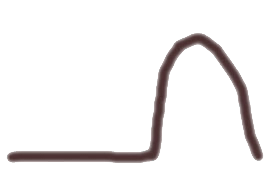
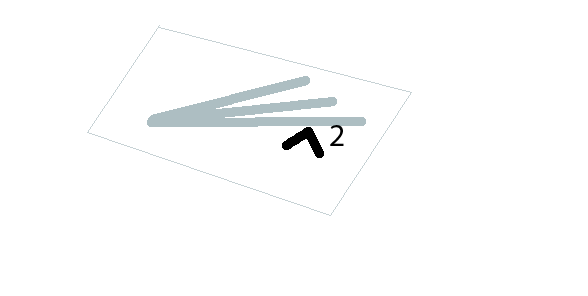
You drew a line to define a cutting operation, but you later found that the line is drawn incorrectly for just a few millimeters away. Often the line can not adequately be deleted or you have no time to delete it. The solution is provided by the SLAVNE standard: draw a new line in the vicinity of the old and new with a valid line of putting the character <. The < sigh mean neglecting other close lines and validity of the power lines along which the character <.
On the other hand, sometimes you produce a series of errors. Then the < mark you should insert along one side of that line group and also scribe the number of the valid line. Here's how it looks in the pictures:
|
|
 |
13.8.2015